About Stippling Art
What is Stippling?
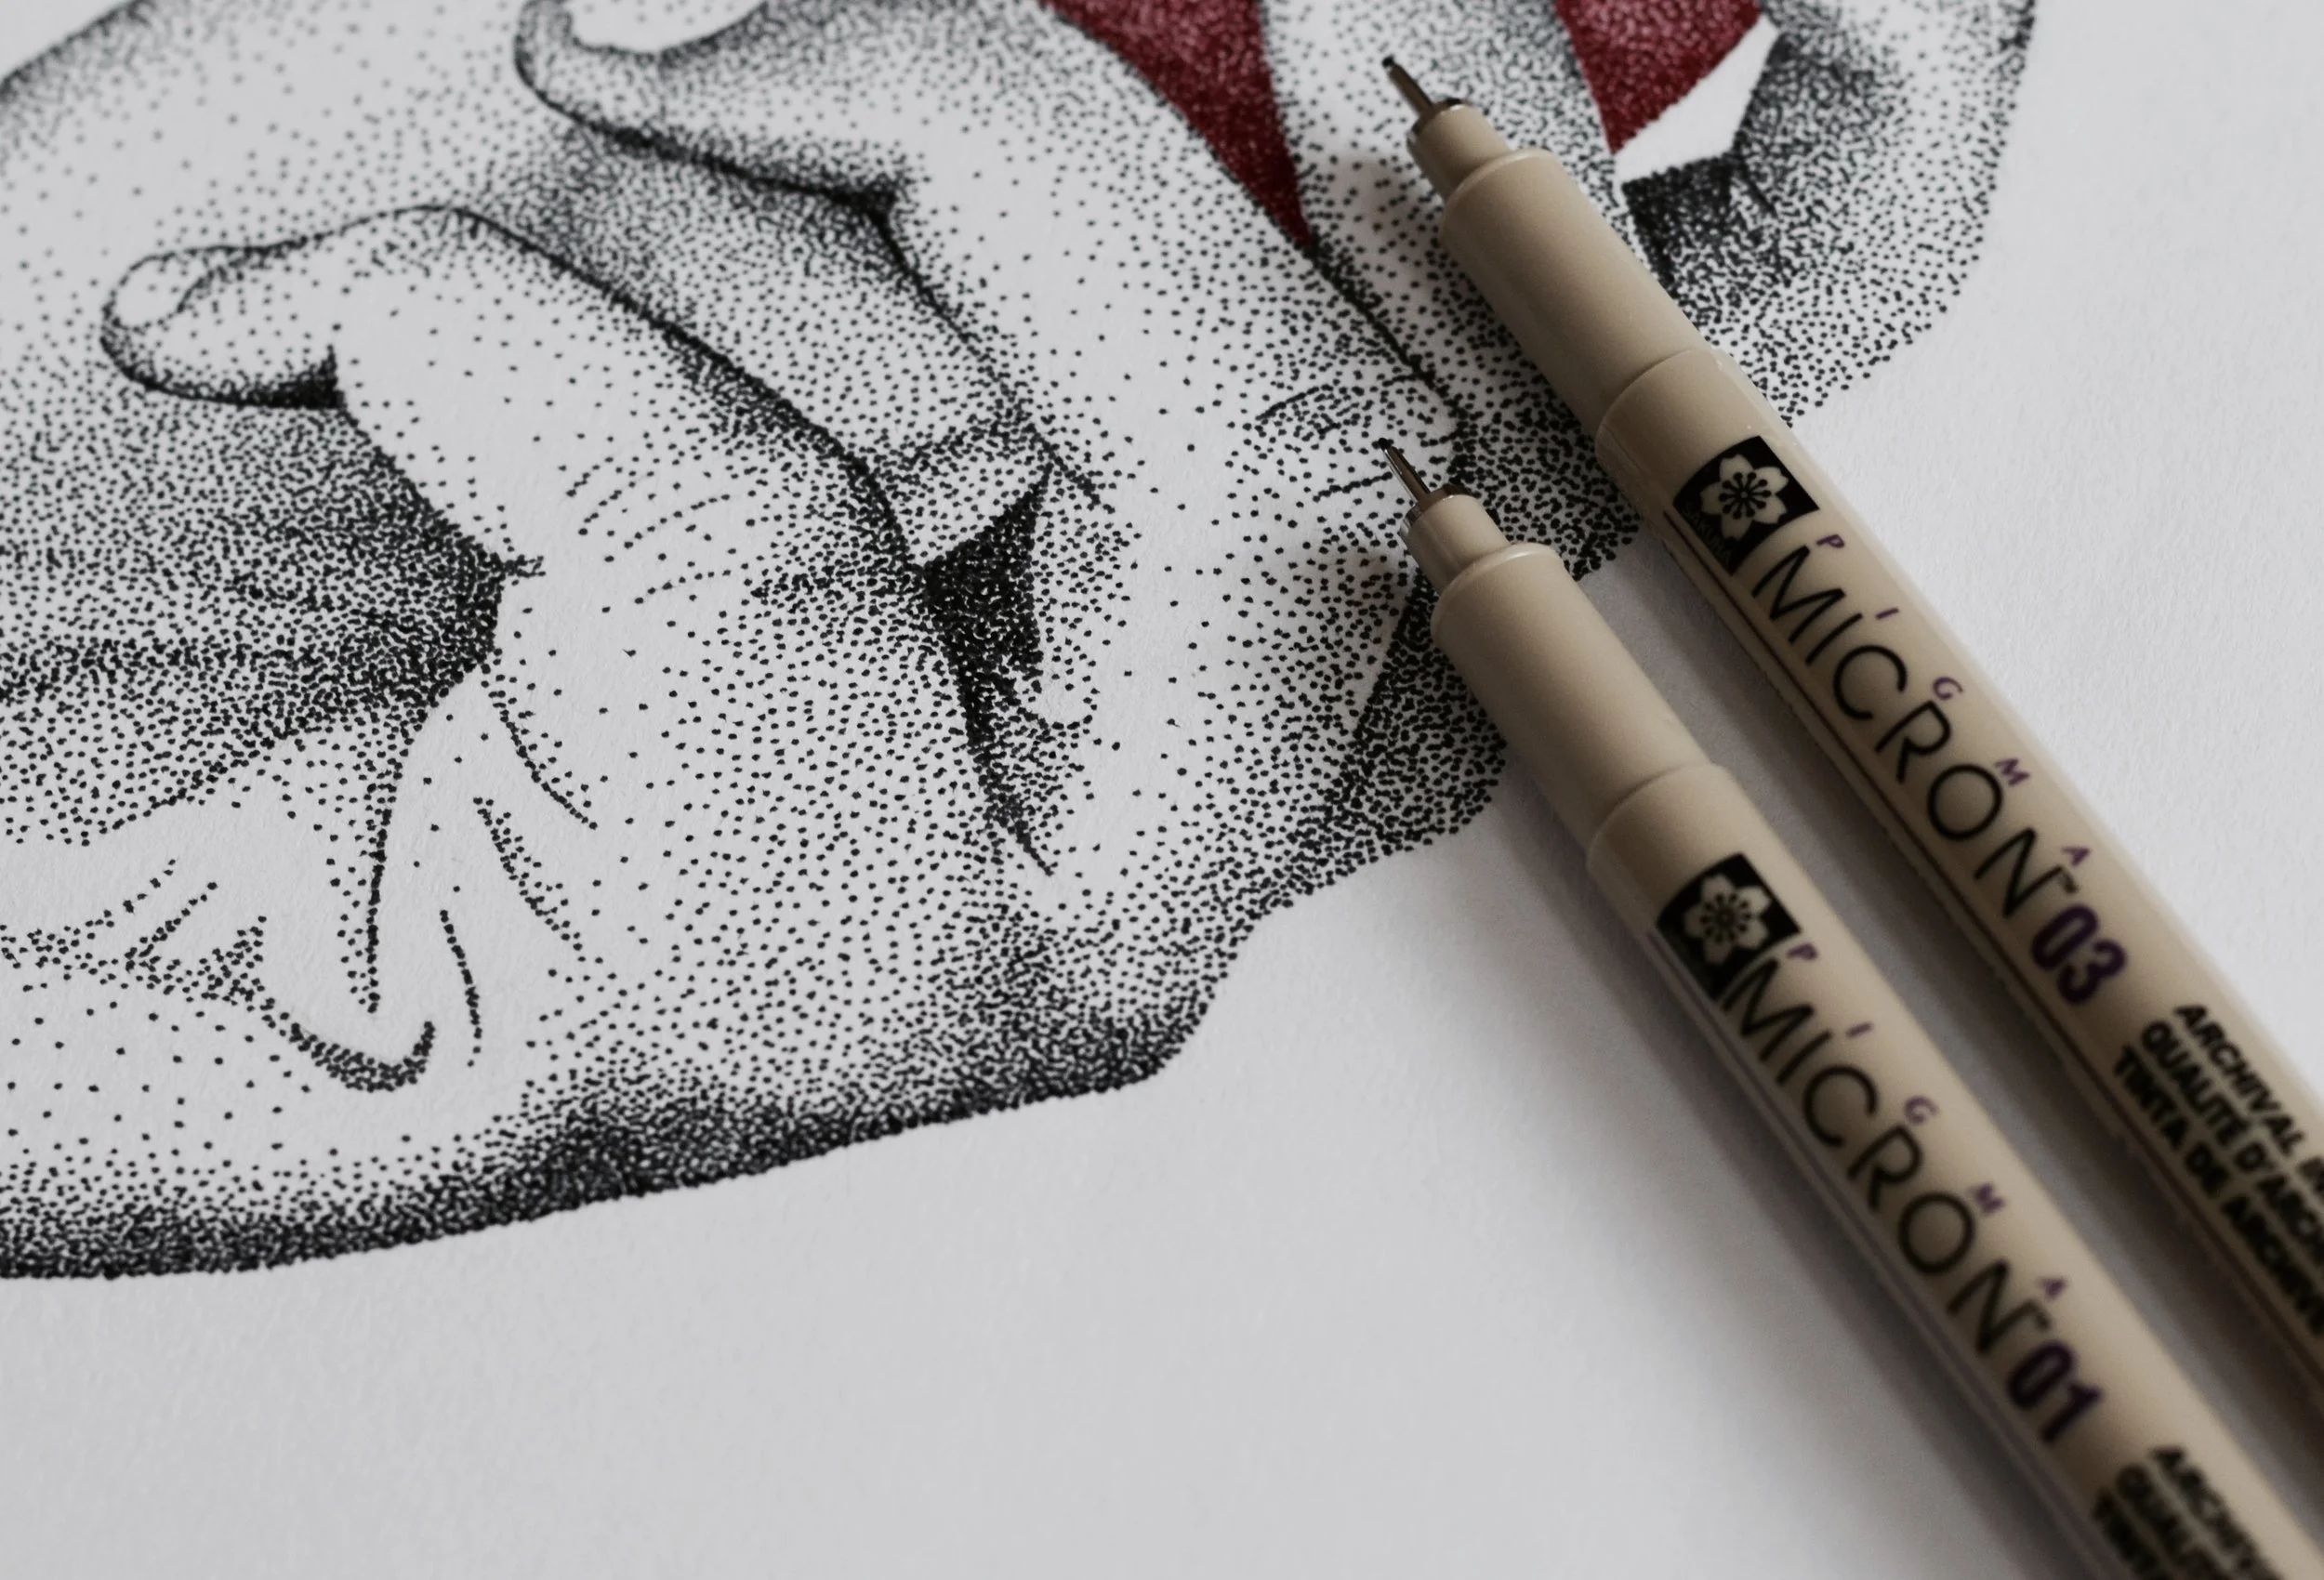
Close up view of David’s piece Forbidden Fruit | Stippling art
David Accurso specializes in stippling, a technique in which the artist strategically places dots that blend with one another to create a desired image. This process is typically done with pen and ink. Stippling is oftentimes confused with a similar technique called pointillism, a style made famous by George Seurat and Paul Signac in the late nineteenth century. The difference between the two techniques lies within the medium used; a stippling artist works with ink while a pointillism artist uses paint.
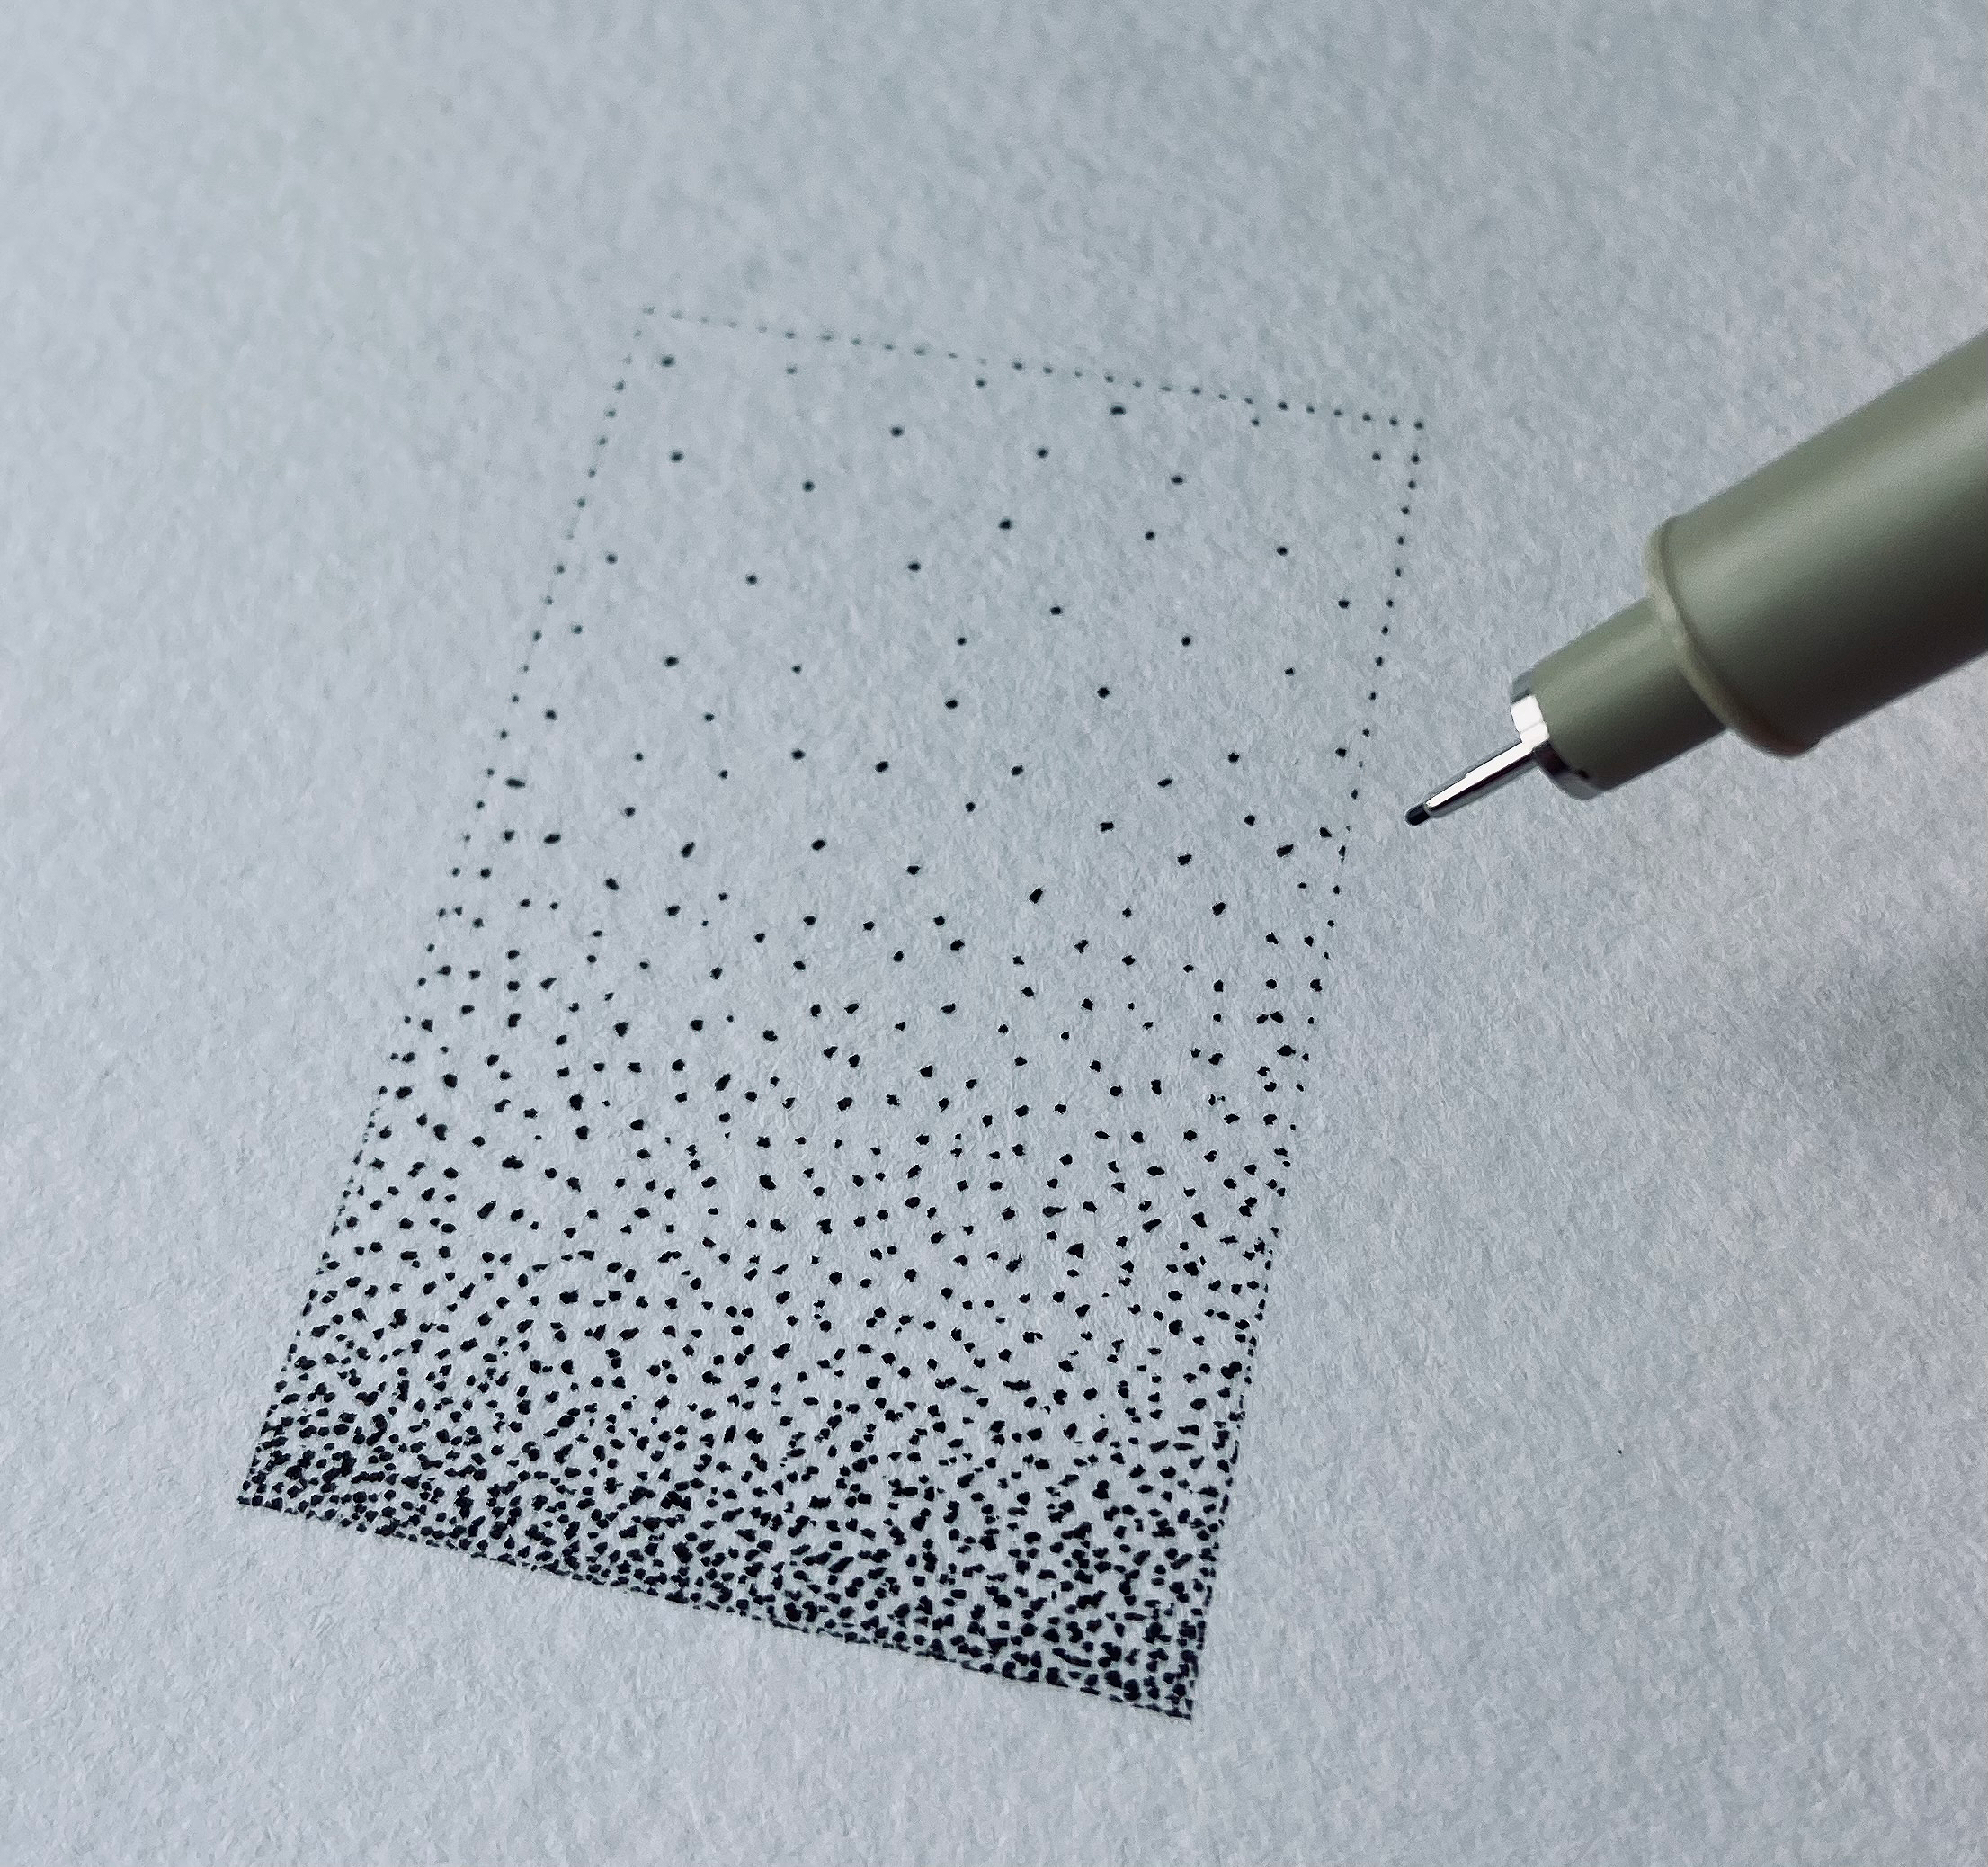
Stippling art gradient
Stippling Technique
David’s process is the same for all of his stippling art. He begins with a pencil sketch of the subject, focusing on a basic outline while making note of shadows, highlights, and fine details. He then selects the pen(s) he wants to use based on the size and color of the drawing. Micron and Copic are among his favorite pen types to use, and he typically works with tip sizes between .20mm - .30mm. As a basic rule of thumb, the smaller the tip size, the more dots it will require to create a piece. David prefers to work in black and white due to the greater contrast of shadows and highlights he can achieve. He enjoys working with color as well and will oftentimes incorporate a bit of color into his black and white drawings.
For David, shadows, highlights, and detailing are the most important aspects of realistic stippling art. Before he stipples a piece, David pencil-sketches as many fine details as he can. This makes the rest of the process easier by ensuring no details are missed while focusing on value changes. To achieve accurate shadows and highlights, David manipulates the spacing between each dot. He will also use several layers of dots to obtain a certain shade or texture.
Stippling art possesses an indescribable aesthetic appeal that make the technique unique among others. An artist who uses this technique must have patience and dedication due to the time-intensive work stippling requires. Most of Accurso’s projects require a minimum of ten hours of stippling, while some have taken him up to one hundred hours. Nonetheless, David takes pride in the dedication it takes to complete his work. He has completed over fifty pieces since starting his career.
Check out David’s blog post below to learn more about the stippling technique. Shop David’s art prints by following the link below.
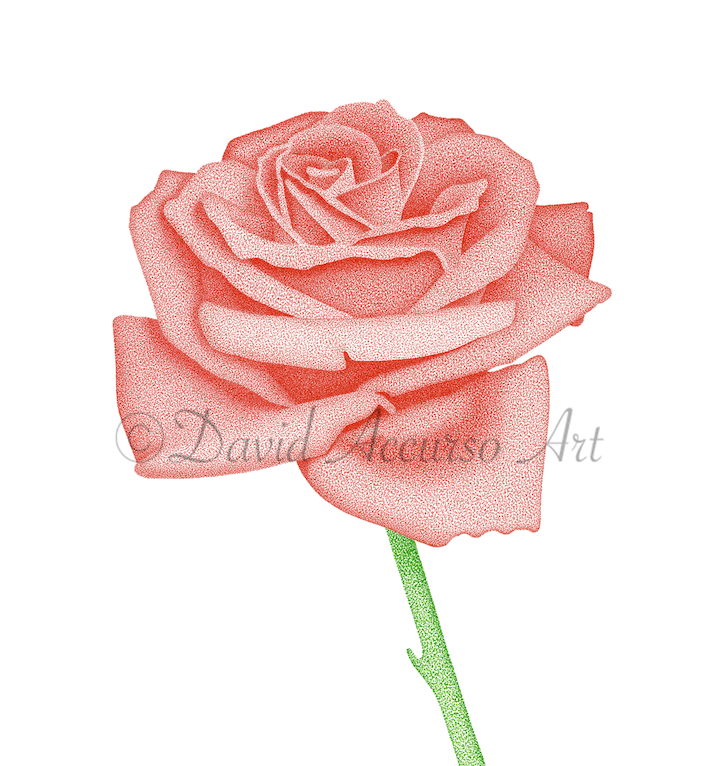
Emergence | 11” x 14”
Stippling art print
From David’s Blog - What is Stippling Art?
Stippling art is the process of using a number of small dots to create a desired image or pattern. In the stippling technique, the dots are applied using pen and ink, and they are typically made up of a single color. Black and white is the most common pigment choice. The artist manipulates the spacing of dots to create different shades throughout the drawing. As a general rule of thumb, the denser the placement of dots, the darker the shade the artist will achieve. Value changes in stippling art can also be achieved by varying the thickness of the dots applied (thicker dots are best for darker shades and vice versa).
The Appeal of Stippling Art
Stippling art possesses unique aesthetic character compared to other drawing and painting techniques. When looking at a stippling piece from a distance, it may appear as a regular drawing or image until the viewer gets close enough to recognize the series of dots used to create the artwork. Stippling art also allows artists to be deliberate and precise in their creation of shadows and highlights. The slow process of placing individual dots allows the artist to control how dark or light they want their shades to be. The slow pace of this technique also provides the opportunity to recognize issues early on and correct them.
History of Stippling Art
The process of stippling was invented by Giulio Campagnola in 1510. Campagnola was a renowned engraving artist that invented the stippling technique to improve his variations of tone. At this point in history, engraving was typically done by hatching or cross-hatching. Campagnola figured out that engraving small dots, instead of lines, allowed him to create smoother transitions of tone. In addition to improving visual art, this new technique led to major innovations in printmaking as it allowed pressmen to transfer photographs into newspaper images.
Stippling versus Pointillism
Stippling art is often confused with the similar process of pointillism. In both techniques, the artist uses a series of dots to create a desired image. However, there are two distinctions between the two. First, stippling is done with pen and ink while pointillism uses paint and brush. Second, stippling art is normally done with a single color scheme and avoids blending dots of different colors. Pointillism is unique in that it incorporates different dot colors that blend together to create desired shades of color. This painting technique was developed by Georges Seurat and Paul Signac in the 1880s. It was initially created as a response to the more popular style of Impressionism. The technique remained popular and was later used by several famous artists such as Van Gogh and Picasso.
10 Tips for Stippling Art
Start with a Pencil Sketch
Before you pick up a pen and start stippling, you need to establish the subject of the drawing with a pencil sketch. The better and more detailed your sketch, the easier the stippling process will be once you reach that point. This becomes more relevant once you get to complex subjects like flowers or portraits, but it is still important when working on simpler subjects.
Start with Simple Shapes and Objects
If you want to learn or improve your stippling art, it would be a good idea to begin with basic shapes. Start with a two-dimensional square or circle, and try to create a simple dark to light value gradient. Focus on placing circular, consistent dots while avoiding flake marks by working too fast. Once you feel comfortable with simple 2-D shapes, you can start working on 3-D objects like cubes and spheres.
Choose High Quality Stippling Art Pens
There are many high quality illustration pens on the market you can start with. These include Micron, Copic, Artist’s Loft, Staedtler, and more. It is important that you do some experimenting to find which type works best for you. Using these types of illustration pens will help you to make consistent dots and improve the aesthetic of your stippling art. Each pen type offers several tip sizes. For example, Micron ranges from .20 mm to .50 mm. The smaller the tip, the more dots your stippling art will require. Lastly, it is important to work with heavy drawing paper that absorbs ink well. Bristol paper would be great to start with.
Shading Your Stippling Art
The stippling technique is popular for creating value changes (shadows and highlights). Drawing with dots allows the artist to control how dark they wish to go with his or her shadows. To begin shading an area, place a few dots spaced out from one another. Slowly add more dots to darken the area to your liking. As a rule of thumb, the closer together you place your dots, the darker an area will become. It is important to develop your gradients from dark to light to avoid making lighter areas too dark. You can always add more dots if you need to, but you cannot take dots away if an area becomes too dark.
Stippling Textures and Patterns
When creating stippling gradients, the artist will usually do so using the process in step 5. Another method of shading is to stipple layers of dots. To start this process, you first need to establish a layer of dots that are all consistently spaced apart. There should be no gradient in this first layer (see image to the right). Next, repeat this process as many more times as you like until you have several layers of dots on top of one another. Doing this will achieve a unique stippling texture. Once you have this texture, you can then start darkening certain areas.
Stippling Outlines
The outlines of your stippling art are something you will want to be mindful of. As a beginner, you can use regular lines to outline the drawing. As you progress, you can start stippling the outlines to make the piece look more uniform. Place the dots closer together around darker areas, and space them out as you transition into lighter areas.
Implement Color
Stippling art is most commonly made with black ink. Black and white is the ideal color scheme for improving shading and texture techniques, so it is recommended that beginners practice with black ink. Once you feel comfortable with black and white, practice implementing color to enhance the aesthetic of your stippling art. Color can be used to draw attention to certain aspects of a drawing, and it increases the number of potential subjects one can stipple.
Click here to read the rest of the blog post.