stippling art

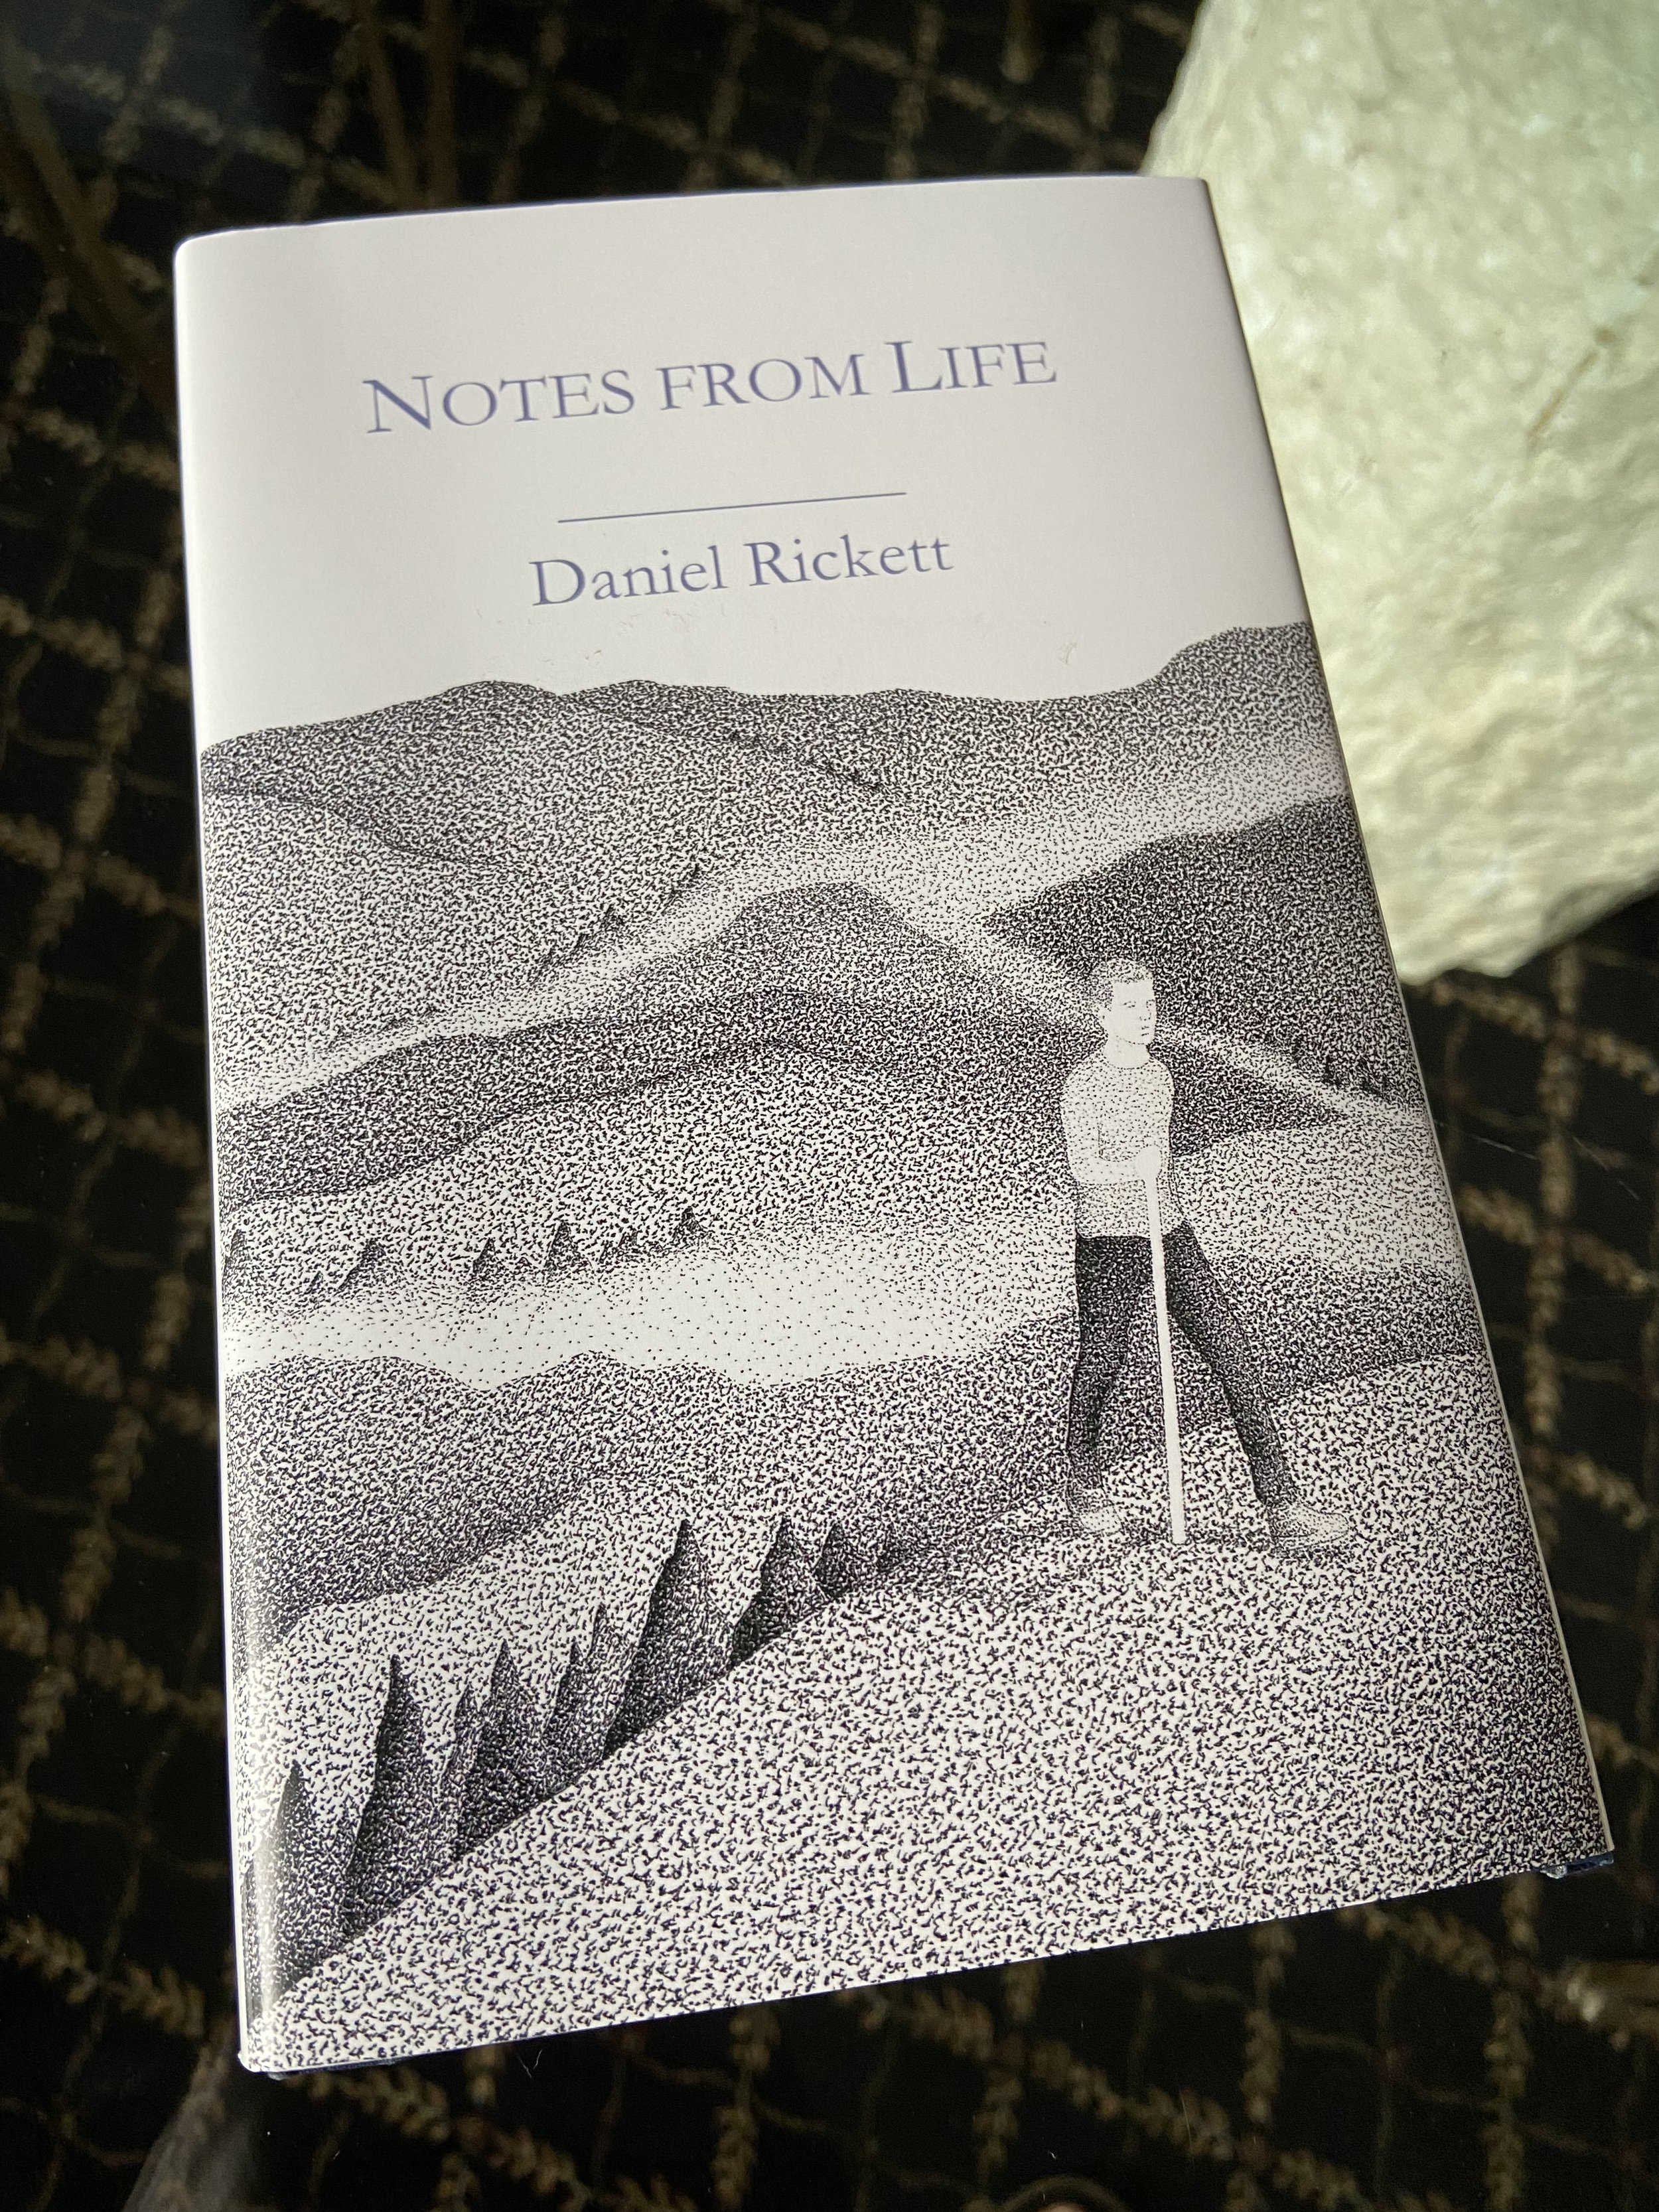
Notes from Life - Stippling Art Book Cover

Notes from Life by Daniel Rickett

Stippling art by David Accurso

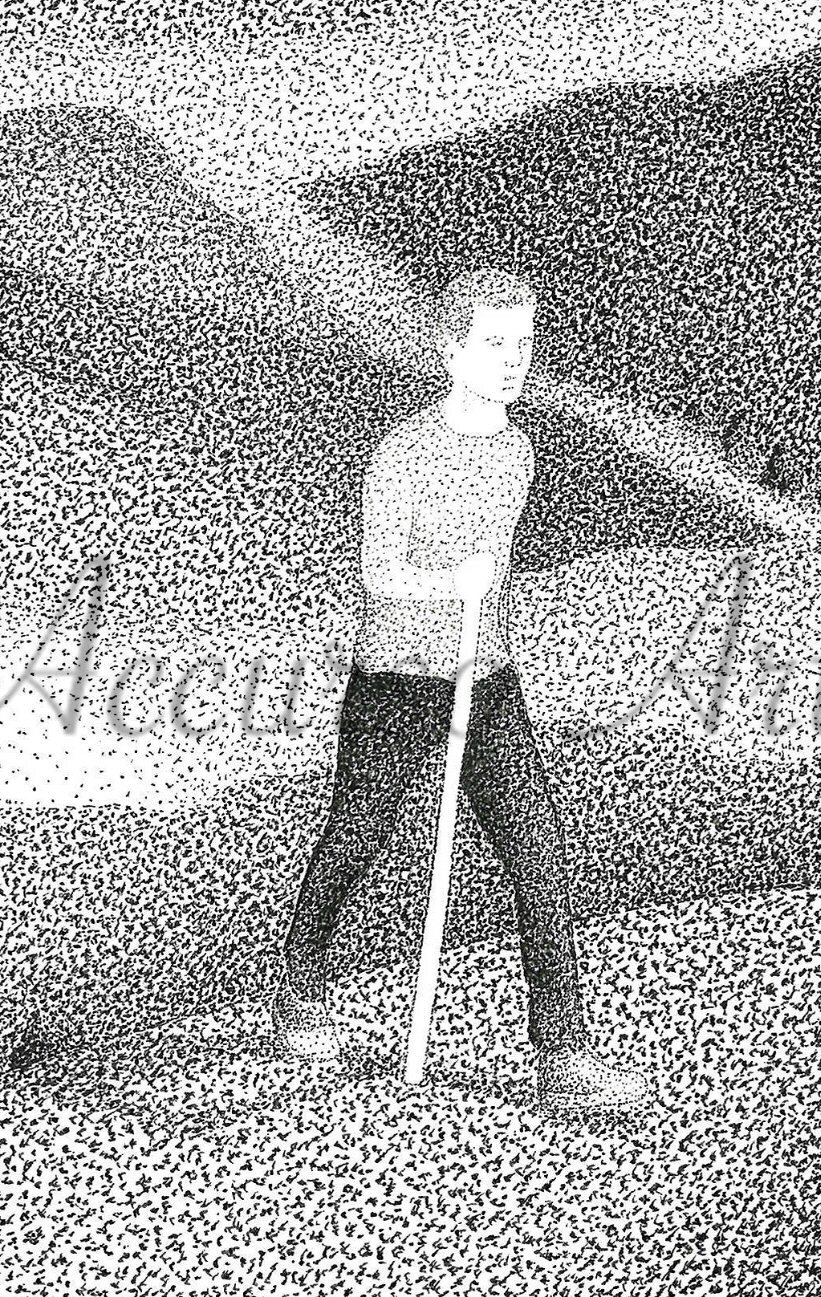
This past spring David Accurso was commissioned to create a stippling book cover for author Daniel Rickett. The cover is for Daniel’s latest novel titled Notes from Life. The foreground of the stippling piece pictures a man cresting a hill as he walks with purpose. The background depicts a rough terrain with rugged, rolling hills covered with trees and fog. Daniel Rickett was looking to have a book cover that was both meaningful and memorable, and he saw David’s stippling art as a perfect fit for the project. David’s custom stippling art for the novel is 5.5” x 8.5.” The piece required 16 hours of stippling, and it is David’s first book cover commission.

Daniel Rickett’s novel Notes from Life contains a selection of Daniel’s personal journal entries spanning from 1983 to 2021. His entries are periodic accounts of events, reflections, hopes, struggles, meditations, and prayers over the course of this time period. When asked about his personal journals, Daniel Rickett added “although the entries are scattered anecdotes rather than a seamless story, they flow like autumn leaves on a mountain stream, tumbling every which way revealing the current beneath.”

Close-up view of David Accurso’s stippling art

Close-up view of David Accurso’s stippling art

When creating his stippling art for the book cover, David sought to capture Daniel’s journey through life. The rugged, foggy, and hilly terrain represents the difficulties Daniel faced along the way. The man cresting the hill symbolizes Daniel’s perseverance and strength to make it through the difficult journey.

Daniel Rickett is an established author with many years of experience. His most popular books are Building Strategic Relationships and Making Your Partnership Work. He has also helped author and co-author several other books and dozens of published articles. Follow the link below to learn more about Daniel and his career.

10 Tips for Stippling Art

1) Start with a Pencil Sketch

Before you pick up a pen and start stippling, you need to establish the subject of the drawing with a pencil sketch. The better and more detailed your sketch, the easier the stippling process will be once you reach that point. This becomes more relevant once you get to complex subjects like flowers or portraits, but it is still important when working on simpler subjects.

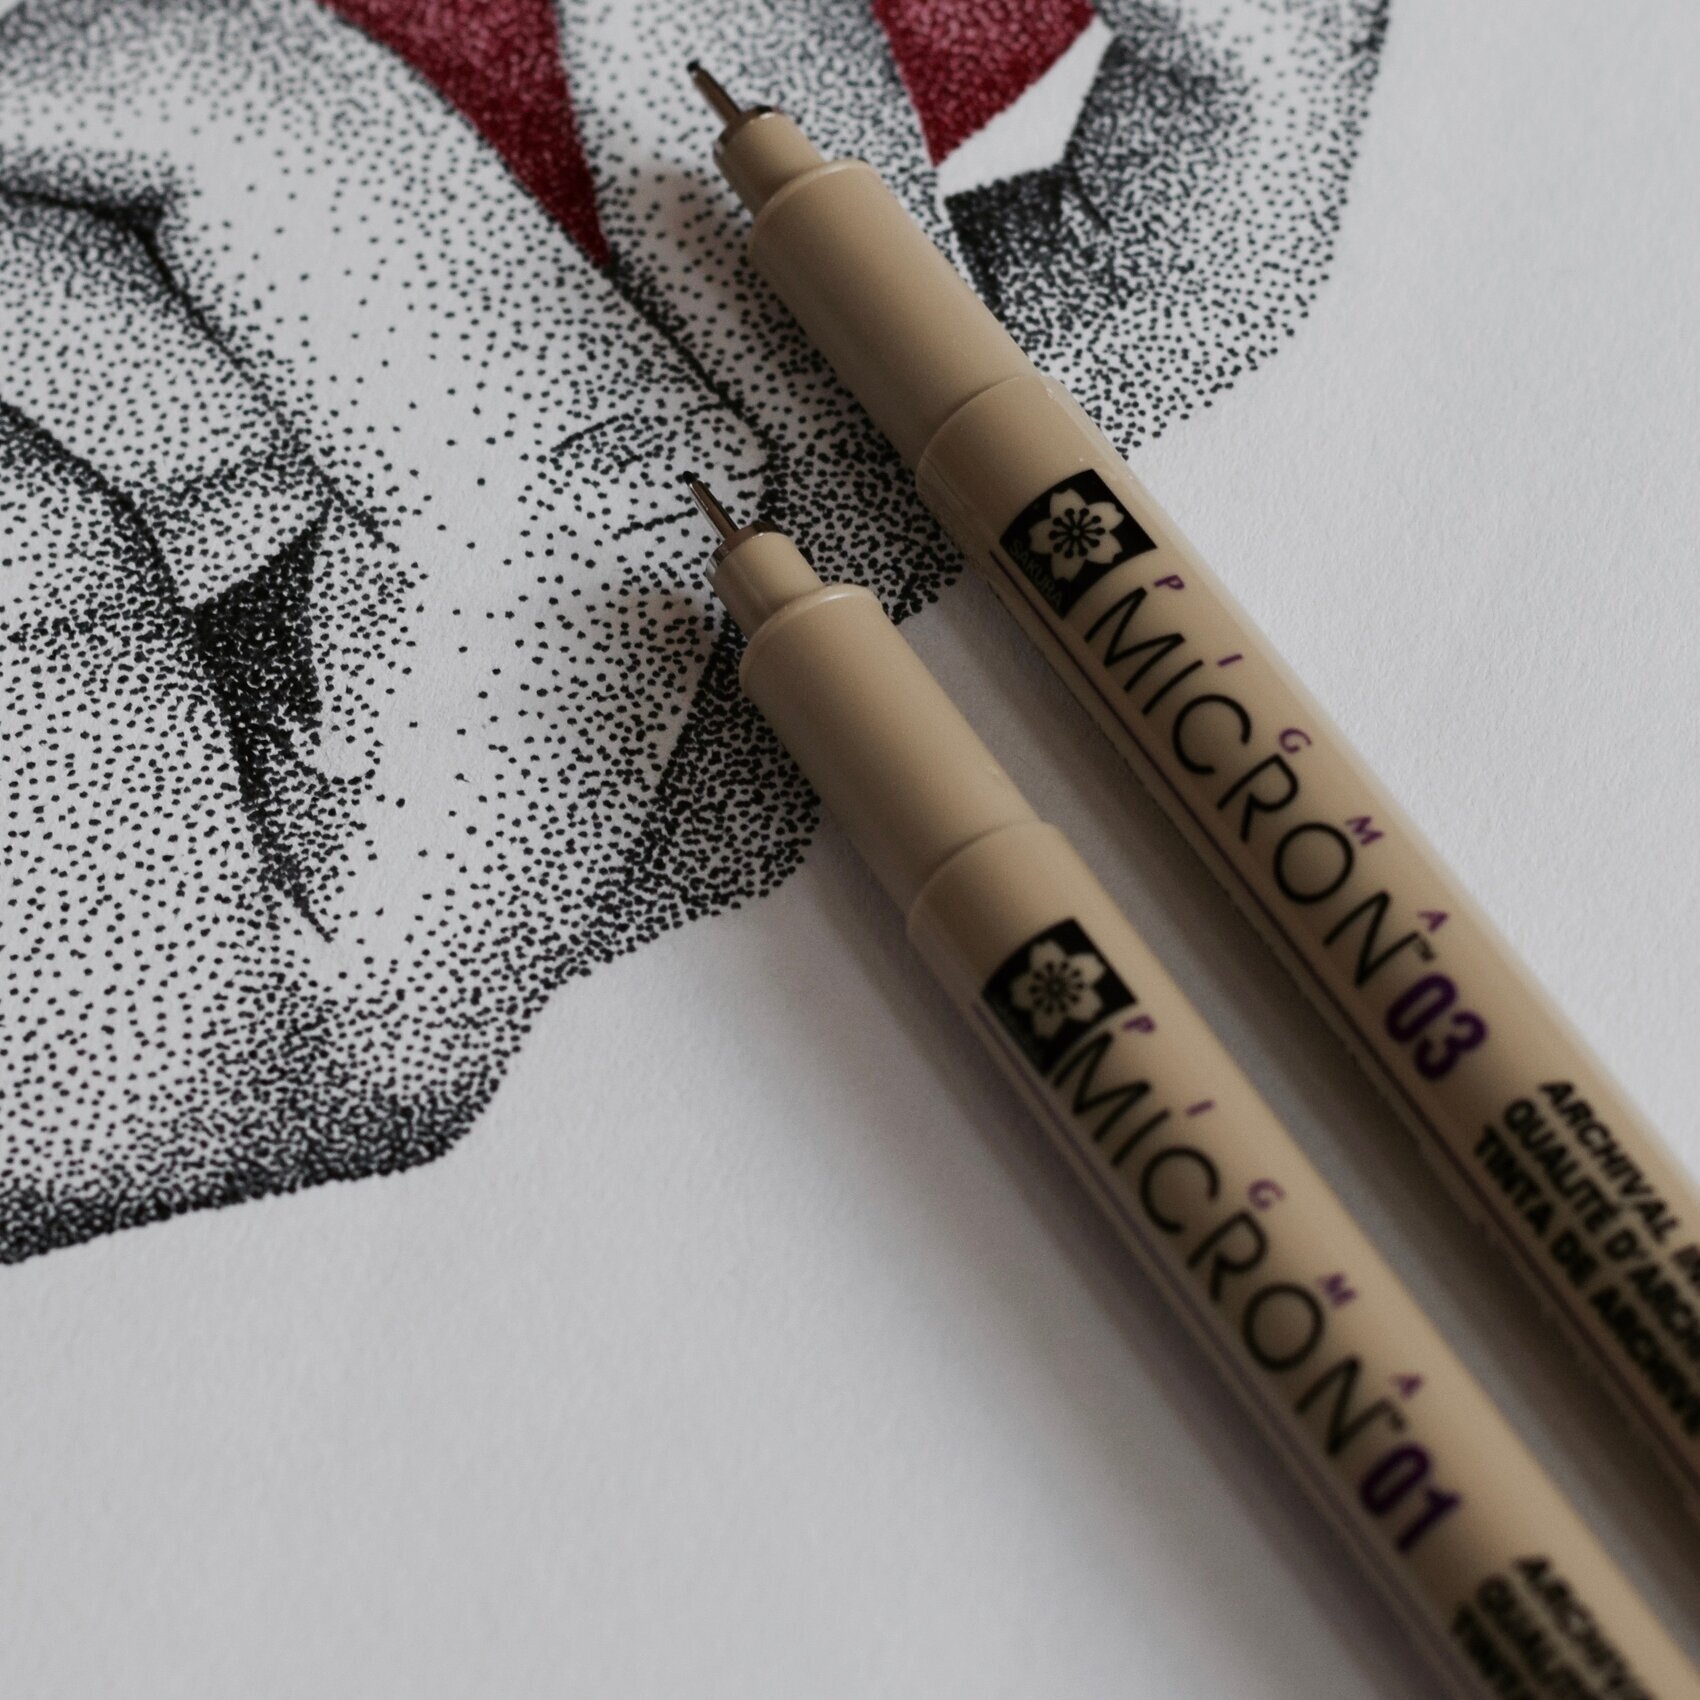
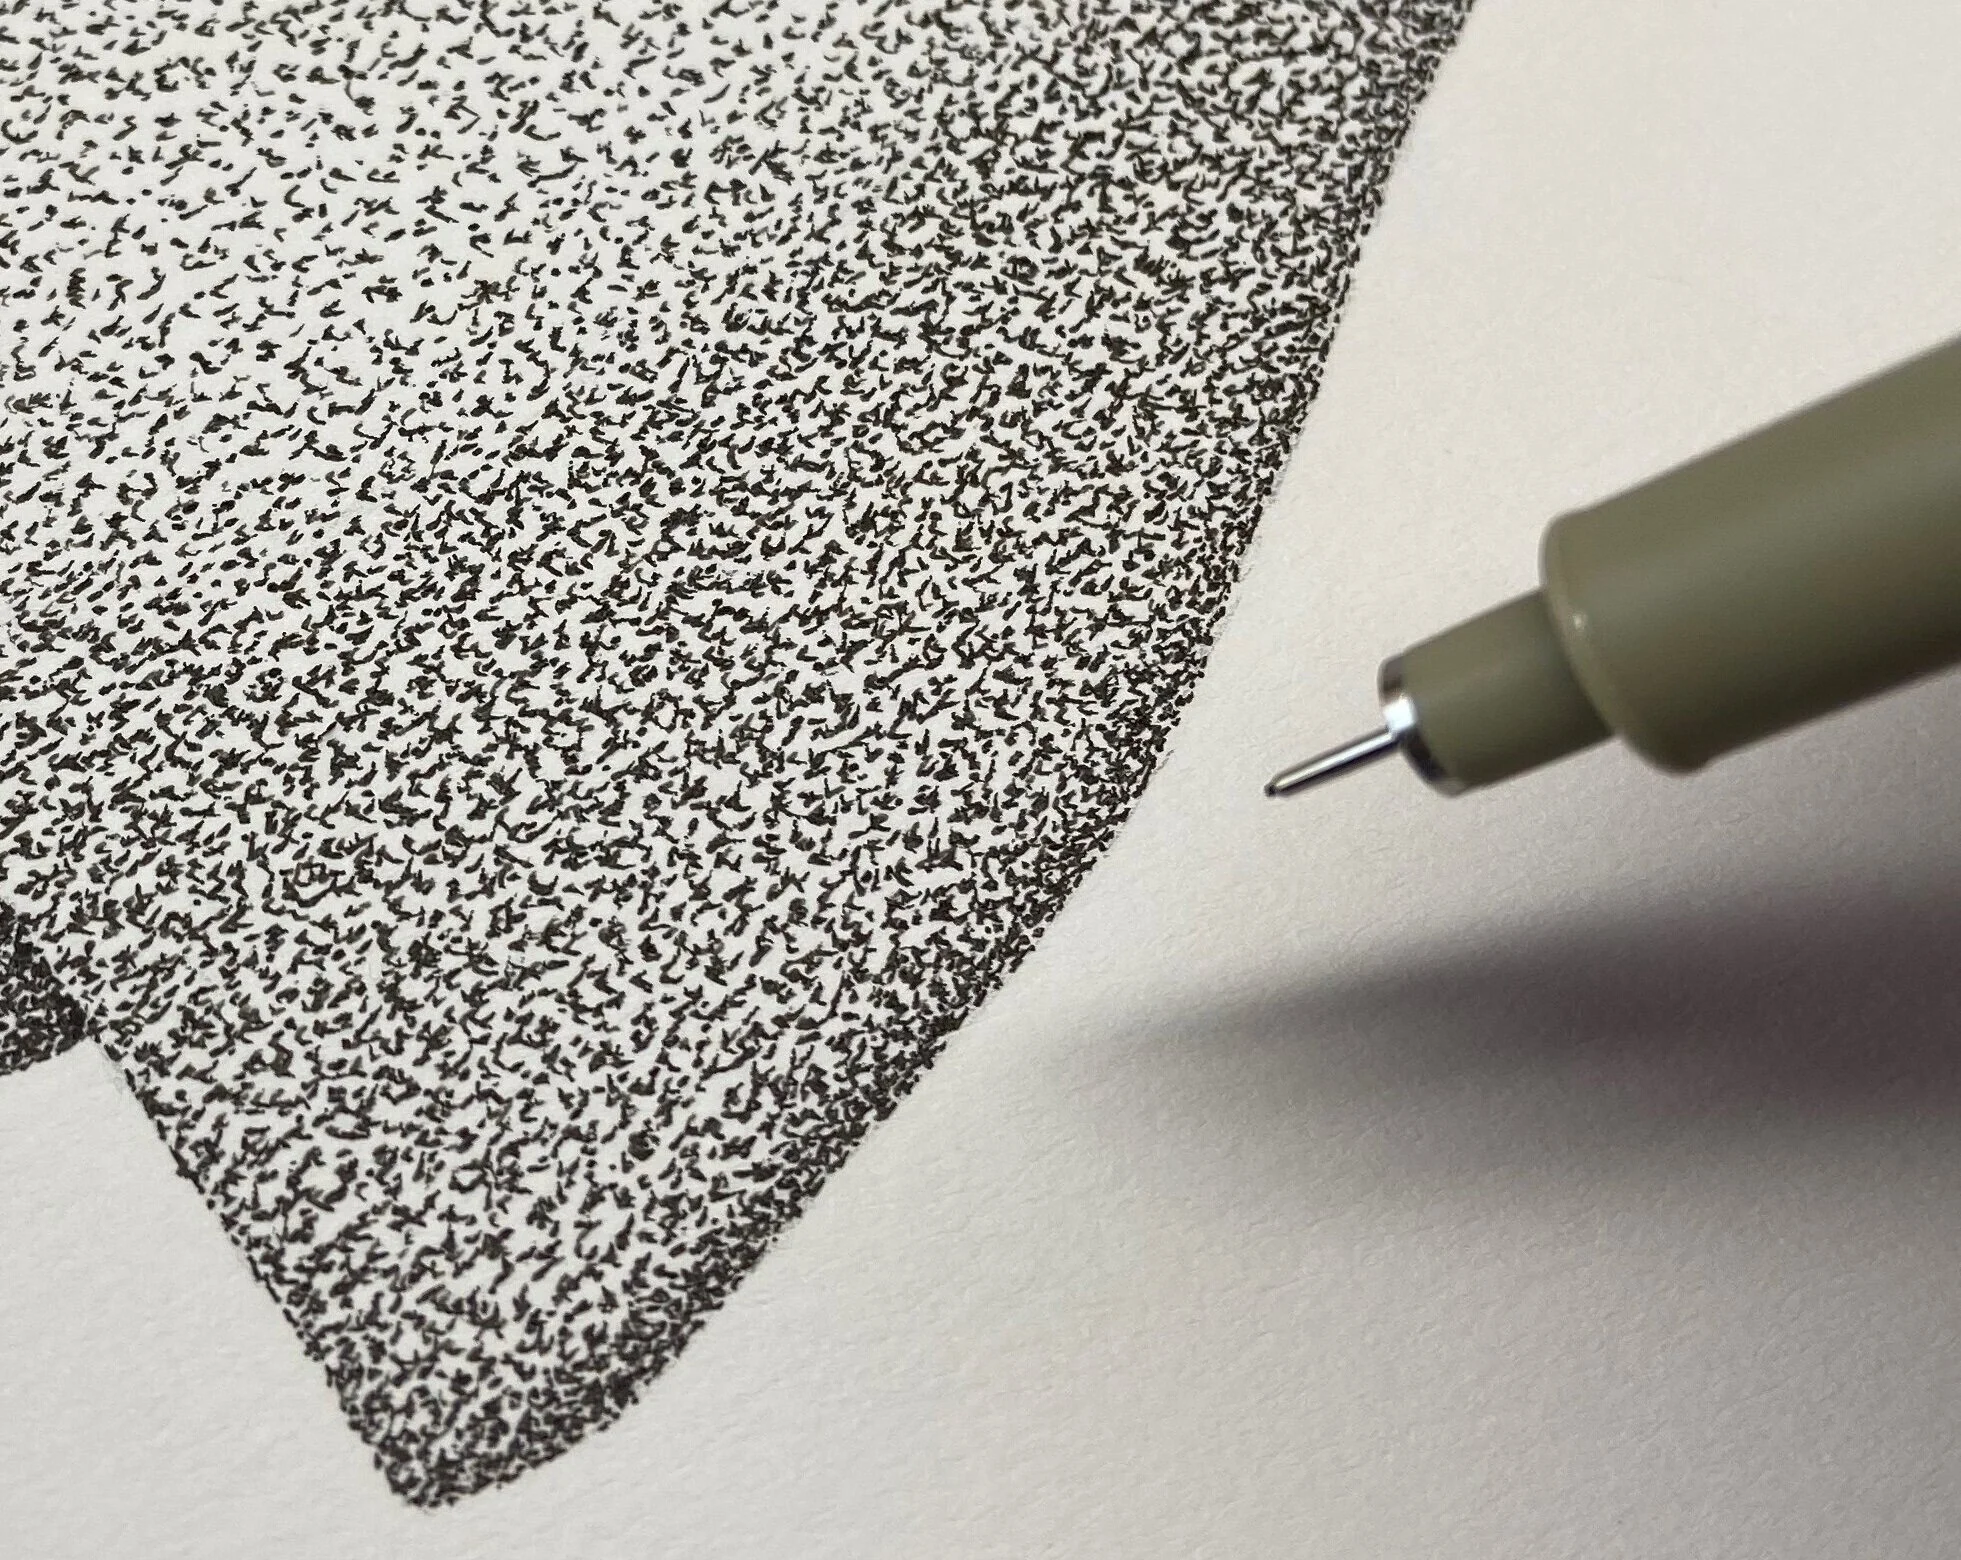
Micron .25mm and .35mm pens | Stippling art pens

Micron .25mm and .35mm pens | Stippling art pens

2) Choose High Quality Stippling Art Pens

There are many high quality illustration pens on the market you can start with. These include Micron, Copic, Artist’s Loft, Staedtler, and more. It is important that you do some experimenting to find which type works best for you. Using these types of illustration pens will help you to make consistent dots and improve the aesthetic of your stippling art. Each pen type offers several tip sizes. For example, Micron ranges from .20 mm to .50 mm. The smaller the tip, the more dots your stippling art will require. Lastly, it is important to work with heavy drawing paper that absorbs ink well. Bristol paper would be great to start with.


3) Start with Simple Shapes and Objects 

If you want to learn or improve your stippling art, it would be a good idea to begin with basic shapes. Start with a two-dimensional square or circle, and try to create a simple dark to light value gradient. Focus on placing circular, consistent dots while avoiding flake marks by working too fast. Once you feel comfortable with simple 2-D shapes, you can start working on 3-D objects like cubes and spheres.


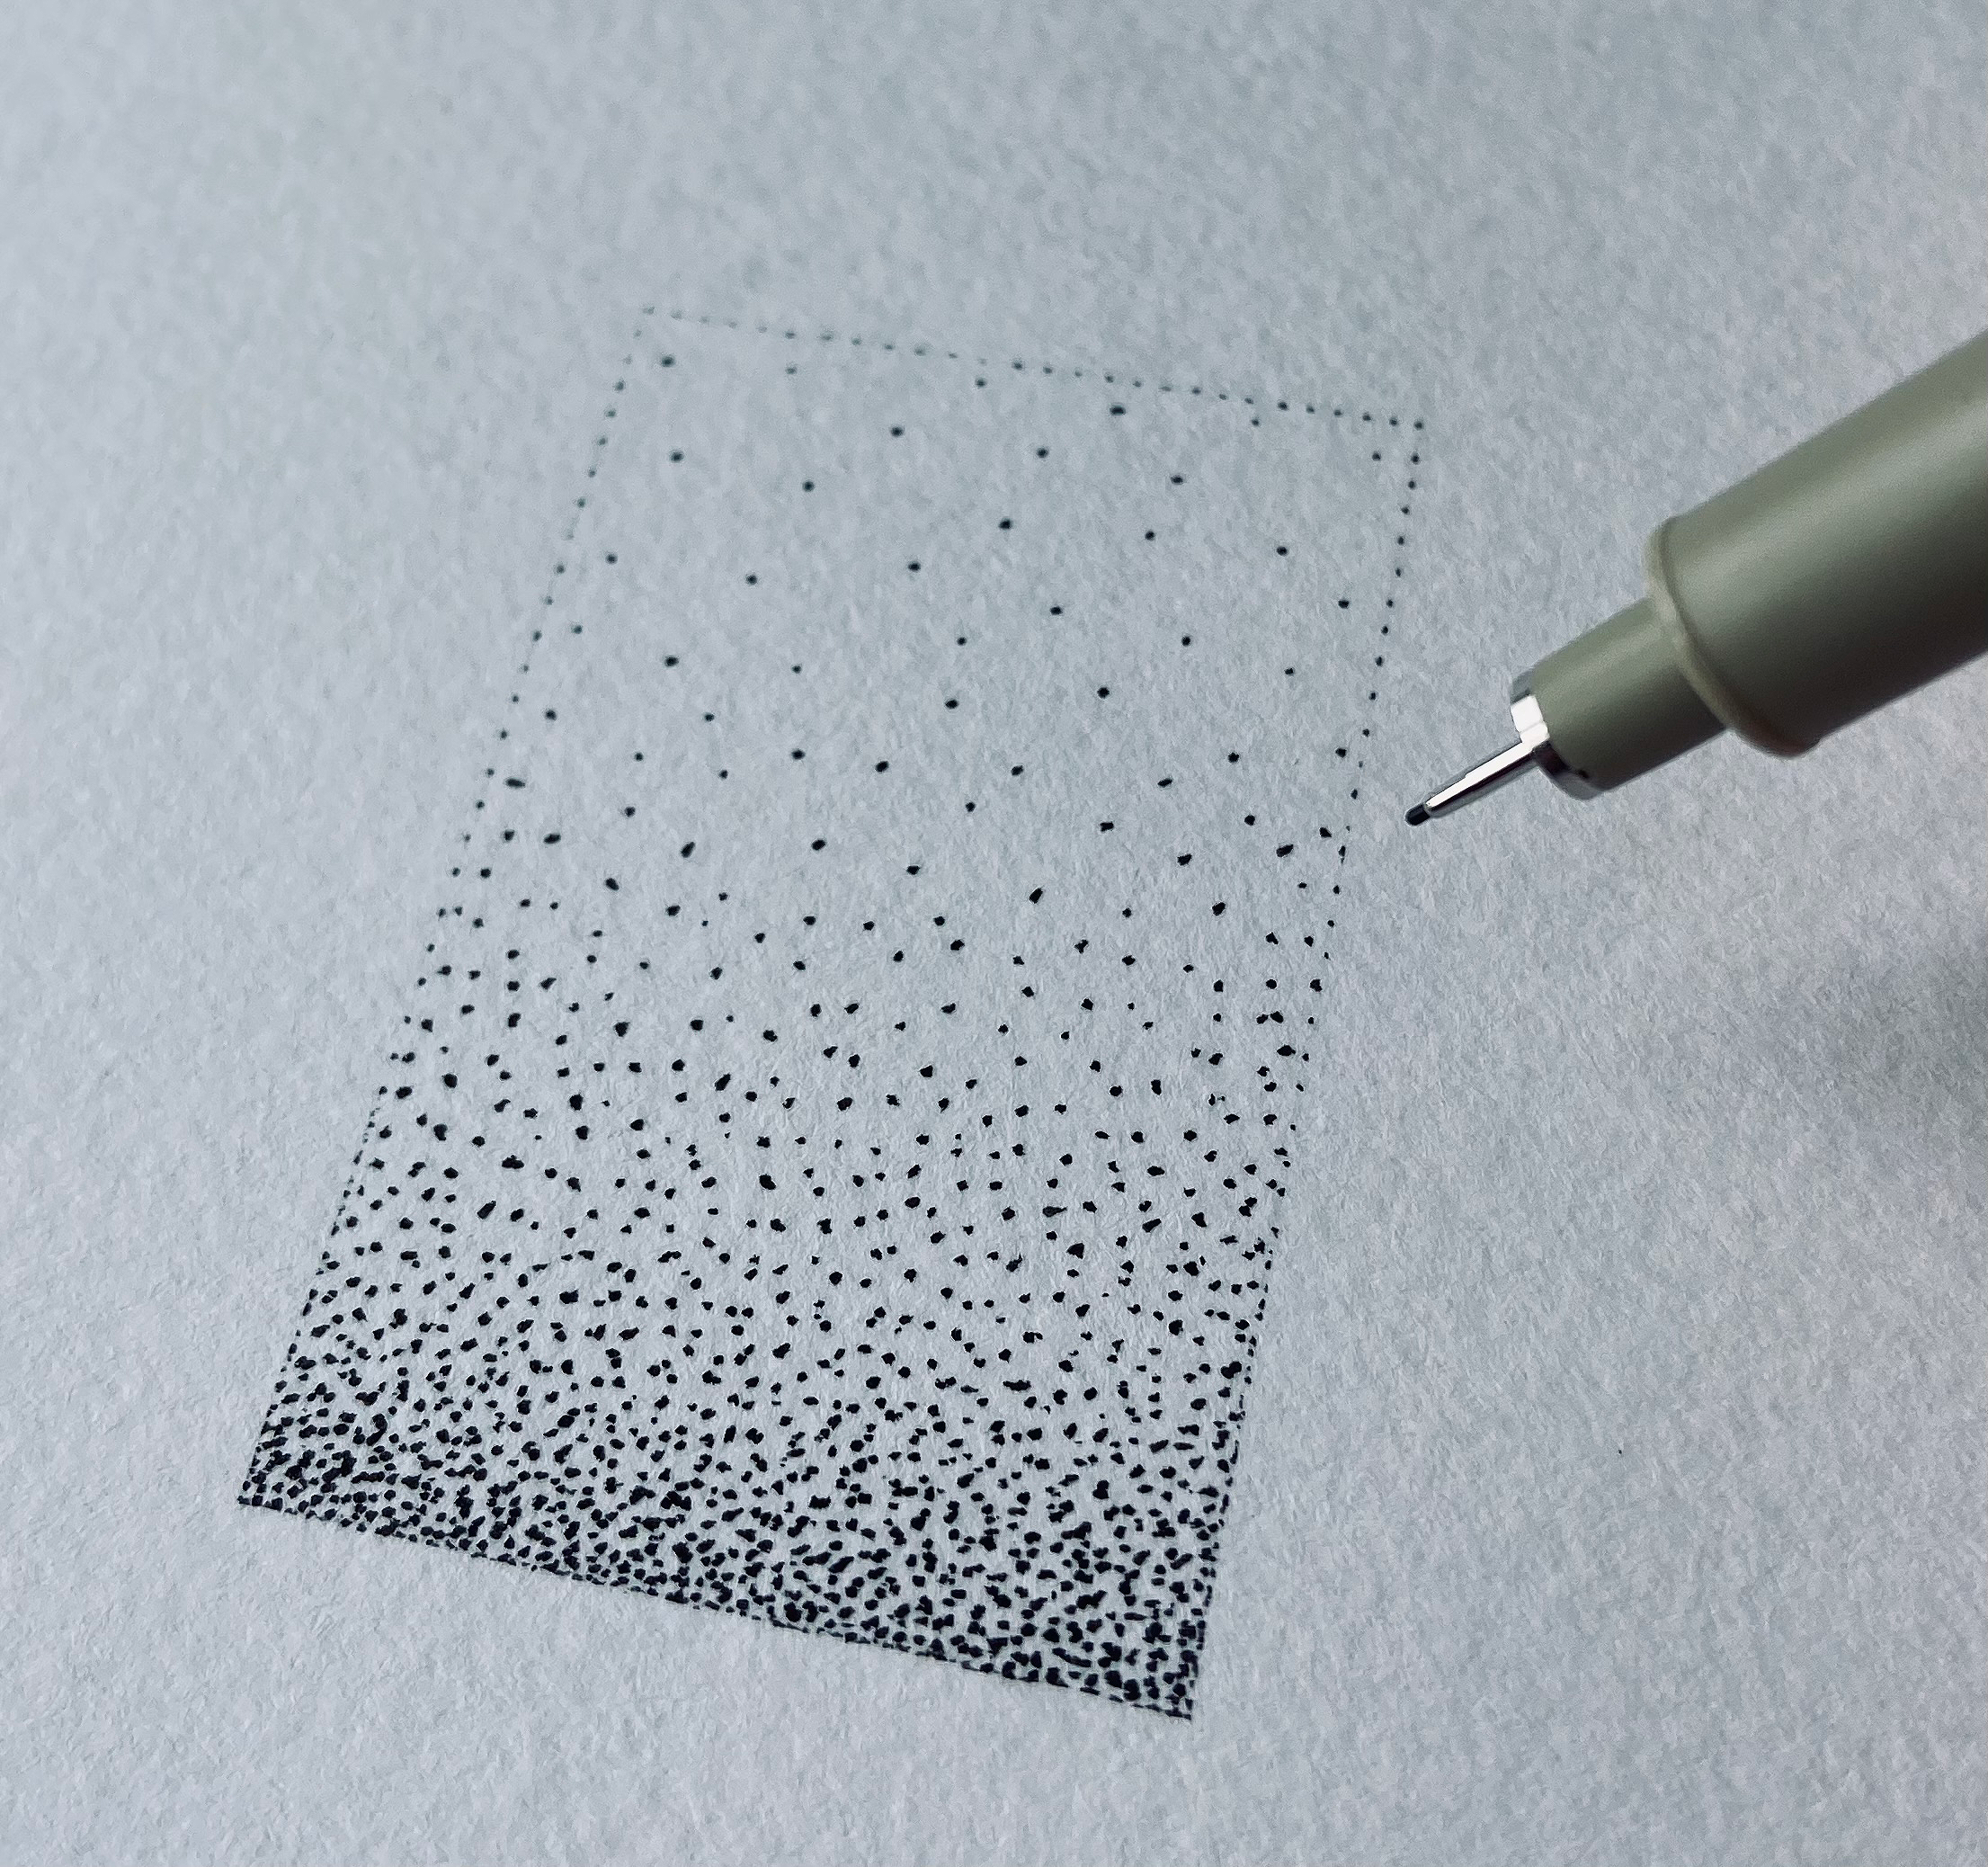
Stipple dots closer together as you outline darker areas of the drawing

Stipple dots closer together as you outline darker areas of the drawing

4) Stippling Outlines

The outlines of your stippling art are something you will want to be mindful of. As a beginner, you can use regular lines to outline the drawing. As you progress, you can start stippling the outlines to make the piece look more uniform. Place the dots closer together around darker areas, and space them out as you transition into lighter areas.


Stippling art gradient

Stippling art gradient

5) Shading Your Stippling Art

The stippling technique is popular for creating value changes (shadows and highlights). Drawing with dots allows the artist to control how dark they wish to go with his or her shadows. To begin shading an area, place a few dots spaced out from one another. Slowly add more dots to darken the area to your liking. As a rule of thumb, the closer together you place your dots, the darker an area will become. It is important to develop your gradients from dark to light to avoid making lighter areas too dark. You can always add more dots if you need to, but you cannot take dots away if an area becomes too dark.


First layer of dots

First layer of dots

6) Stippling Textures and Patterns

When creating stippling gradients, the artist will usually do so using the process in step 5. Another method of shading is to stipple layers of dots. To start this process, you first need to establish a layer of dots that are all consistently spaced apart. There should be no gradient in this first layer (see image to the right). Next, repeat this process as many more times as you like until you have several layers of dots on top of one another. Doing this will achieve a unique stippling texture. Once you have this texture, you can then start darkening certain areas as described in step 5.

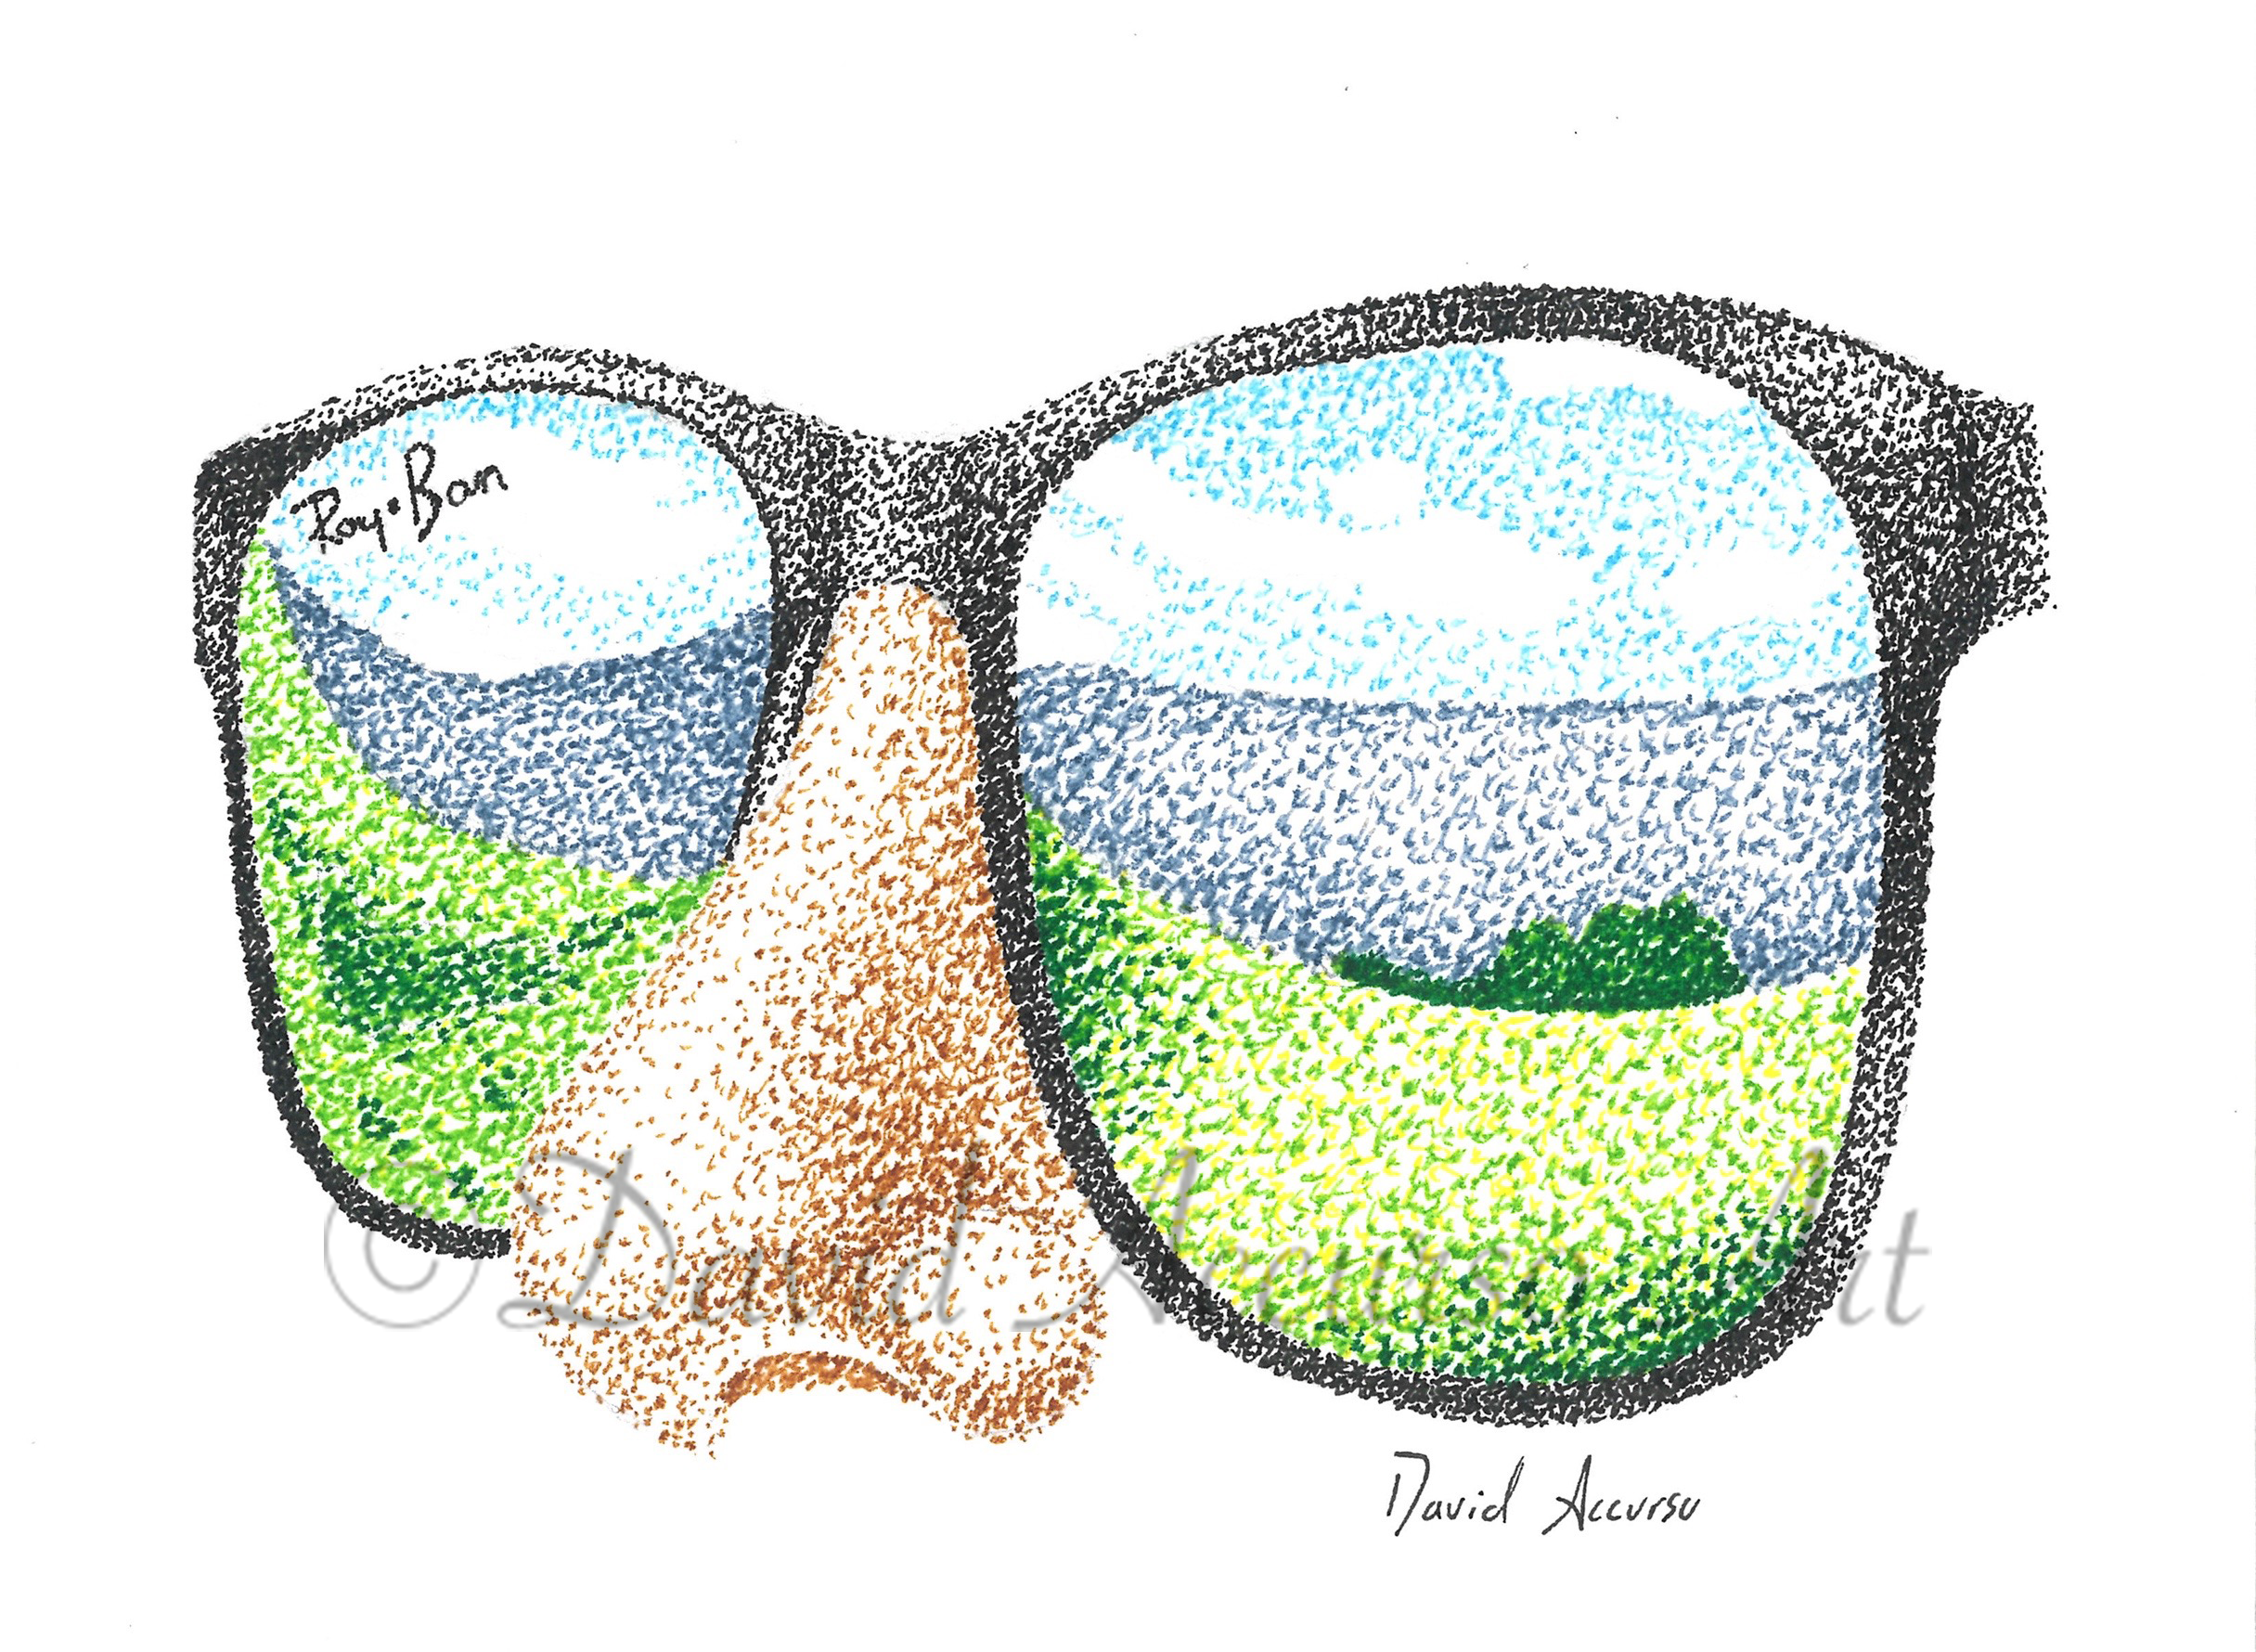
Sunglasses | 7” x 5" | Stippling art

Sunglasses | 7” x 5" | Stippling art

7) Implement Color

Stippling art is most commonly made with black ink. Black and white is the ideal color scheme for improving shading and texture techniques, so it is recommended that beginners practice with black ink. Once you feel comfortable with black and white, practice implementing color to enhance the aesthetic of your stippling art. Color can be used to draw attention to certain aspects of a drawing, and it increases the number of potential subjects one can stipple.


8) Separate the Drawing into Small Chunks

As you improve your stippling art and progress to more complex subjects, it would be beneficial to divide the subject into several parts. This can be done using the grid method. Separating the subject into smaller squares will make the creative process less overwhelming. It will also help you narrow your focus, which will lead to improved detailing in complex aspects of the drawing.


9) Increase Variety of Stippling Art

As you gain more experience and improve your craft, start challenging yourself with different subjects. Practice making all different types of stippling art, such as flowers, fruits, inanimate objects, and even buildings as you gain more confidence. Taking on new projects, as opposed to sticking with what you are comfortable with, will force you to grow and take your stippling art to the next level.


10) Practice

The most reliable and proven method of improvement is practice. Set aside time each day to work on your craft. If you cannot work every day, make it a point to practice every week. Consistency over time is the best way to improve.

stippling art 6

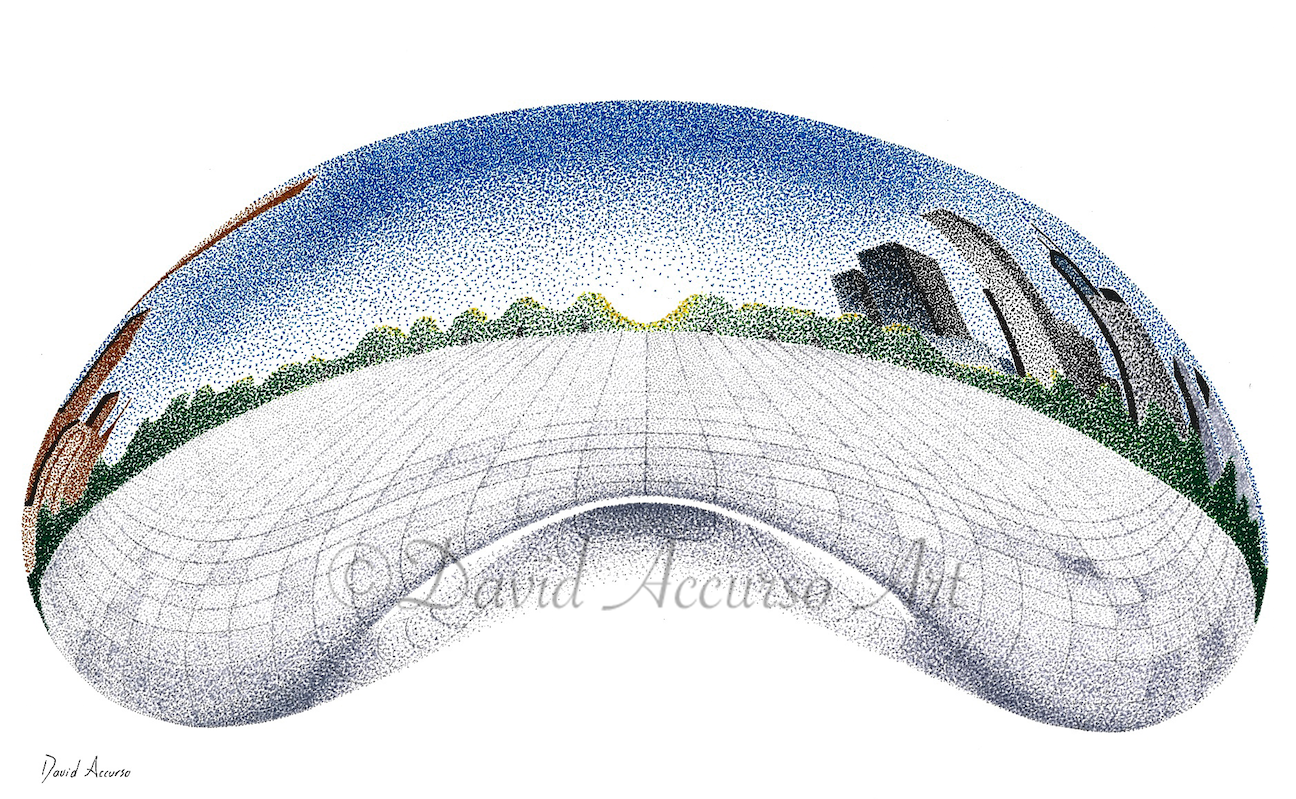
The Bean

11” x 14”

What is Stippling Art?

stippling art 1

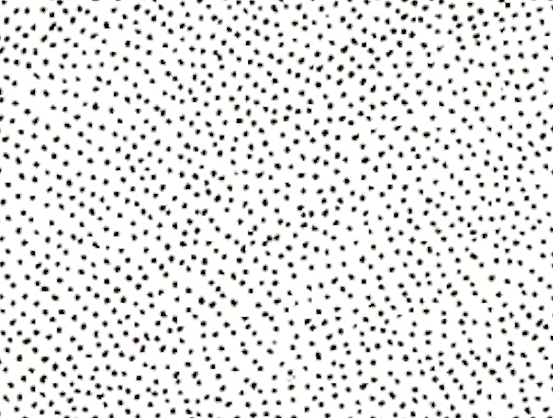
Stippling art is the process of using a number of small dots to create a desired image or pattern. In the stippling technique, the dots are applied using pen and ink, and they are typically made up of a single color. Black and white is the most common pigment choice. The artist manipulates the spacing of dots to create different shades throughout the drawing. As a general rule of thumb, the denser the placement of dots, the darker the shade the artist will achieve. Value changes in stippling art can also be achieved by varying the thickness of the dots applied (thicker dots are best for darker shades and vice versa).  

The Appeal of Stippling Art

Stippling art possesses unique aesthetic character compared to other drawing and painting techniques. When looking at a stippling piece from a distance, it may appear as a regular drawing or image until the viewer gets close enough to recognize the series of dots used to create the artwork. Stippling art also allows artists to be deliberate and precise in their creation of shadows and highlights. The slow process of placing individual dots allows the artist to control how dark or light they want their shades to be. The slow pace of this technique also provides the opportunity to recognize issues early on and correct them.


History of Stippling Art

The process of stippling was invented by Giulio Campagnola in 1510. Campagnola was a renowned engraving artist that invented the stippling technique to improve his variations of tone. At this point in history, engraving was typically done by hatching or cross-hatching. Campagnola figured out that engraving small dots, instead of lines, allowed him to create smoother transitions of tone. In addition to improving visual art, this new technique led to major innovations in printmaking as it allowed pressmen to transfer photographs into newspaper images.


Stippling versus Pointillism

Stippling art is often confused with the similar process of pointillism. In both techniques, the artist uses a series of dots to create a desired image. However, there are two distinctions between the two. First, stippling is done with pen and ink while pointillism uses paint and brush. Second, stippling art is normally done with a single color scheme and avoids blending dots of different colors. Pointillism is unique in that it incorporates different dot colors that blend together to create desired shades of color. This painting technique was developed by Georges Seurat and Paul Signac in the 1880s. It was initially created as a response to the more popular style of Impressionism. The technique remained popular and was later used by several famous artists such as Van Gogh and Picasso.

stippling art 2

Tools and Supplies

If you are interested in creating stippling art, you will need a few supplies to get started. First, you need to select a heavy drawing paper that absorbs ink well. Bristol paper is great to start with. You will also want to avoid glossy paper because of its tendency to smear ink. Next, a pencil and eraser are necessary for sketching out the subject of the drawing. It is important to sketch as many details as possible to make the stippling process easier. Lastly, you need to select which pens to use. Micron and Copic pens are two great choices and are a go-to pen for many stippling artists. Both offer a wide range of tip sizes and are ideal for creating consistent dots. Experimenting with different tip sizes will help you determine which pens to use for large and small scale stippling art.

David Accurso’s Stippling Art

stippling art 3

Emergence | 11” x 14”

David has created a wide variety of stippling art over the course of his career. He enjoys the challenge a new subject presents, and he has created many such as flowers, homes, portraits, churches, still lifes, hands, geometrics, inanimate objects, and more. As mentioned before, stippling is most commonly done in black and white, and stippling artists will typically stick with one color throughout the creation of a piece. David chooses not to limit himself to one color, and he oftentimes incorporates splashes of color that give his stippling art a unique, recognizable quality. His incorporation of color is also one of the reasons why he has been able to create so many different pieces. Stay up to date with David’s latest work by viewing his portfolio, and be sure to check out his shop to browse his selection of art prints.

MLB Umpire Steve Palermo - Custom Stippling Piece

MLB Umpire Steve Palermo, 18” x 24,” custom art piece

MLB Umpire Steve Palermo, 18” x 24,” custom art piece

In the summer of 2017, David was hired to create a custom stippling art piece of Major League Baseball umpire Steve Palermo. Steve Palermo passed away in May of 2017, and the commissioned piece was created as a gift for his wife, Debbie. Multiple prints of the stippling piece were framed and gifted to Kansas City Royals general manager Dayton Moore and Rich Garcia, Palermo’s crew chief in the MLB.

Steve Palermo had a very successful career as a major league umpire. His umpire crew, led by Rich Garcia, umpired the 1983 World Series, three American League Championship series, and the 1986 All-Star Game. Steve was recognized as one of the finest umpires in the MLB, and he was ranked the number one American League umpire by The Sporting News in 1991.

Close up view of Steve Palermo’s profile

Close up view of Steve Palermo’s profile

David’s commissioned portrait of Steve Palermo was ambitiously made at 18” x 24.” The average size of David’s original stippling pieces is 11” x 14,” so this project was a large time commitment. The project ended up requiring 65 hours of stippling, which was David’s second longest piece (Barn Owl took 100 hours). Accurately capturing Steve’s profile view, along with his chest protector and umpire shirt, were the most time-consuming aspects of this piece for David. The realistic quality of the piece, along with the sheer volume of effort it required, have made this project one of David’s all-time favorites.

David and Debbie Palermo holding the original piece

David and Debbie Palermo holding the original piece

David’s letter from Dayton Moore, KC Royals general manager

David’s letter from Dayton Moore, KC Royals general manager

The original art piece was custom framed and gifted to Debbie Palermo, Steve’s widow. David had the opportunity to personally give the piece to Debbie in August of 2017. In addition to framing the original, two 18” x 24” prints were custom framed and prepared as gifts. One was gifted to Dayton Moore, the Kansas City Royals general manager. The piece is currently displayed in Moore’s office. The other was gifted to Rich Garcia, Palermo’s umpire crew chief. David received a letter of thanks from both individuals.

Prints of this stippling piece are available for purchase in David’s shop. Follow the link below to see more details.

The Independent Magazine Rising Stars Reception

stippling art 1

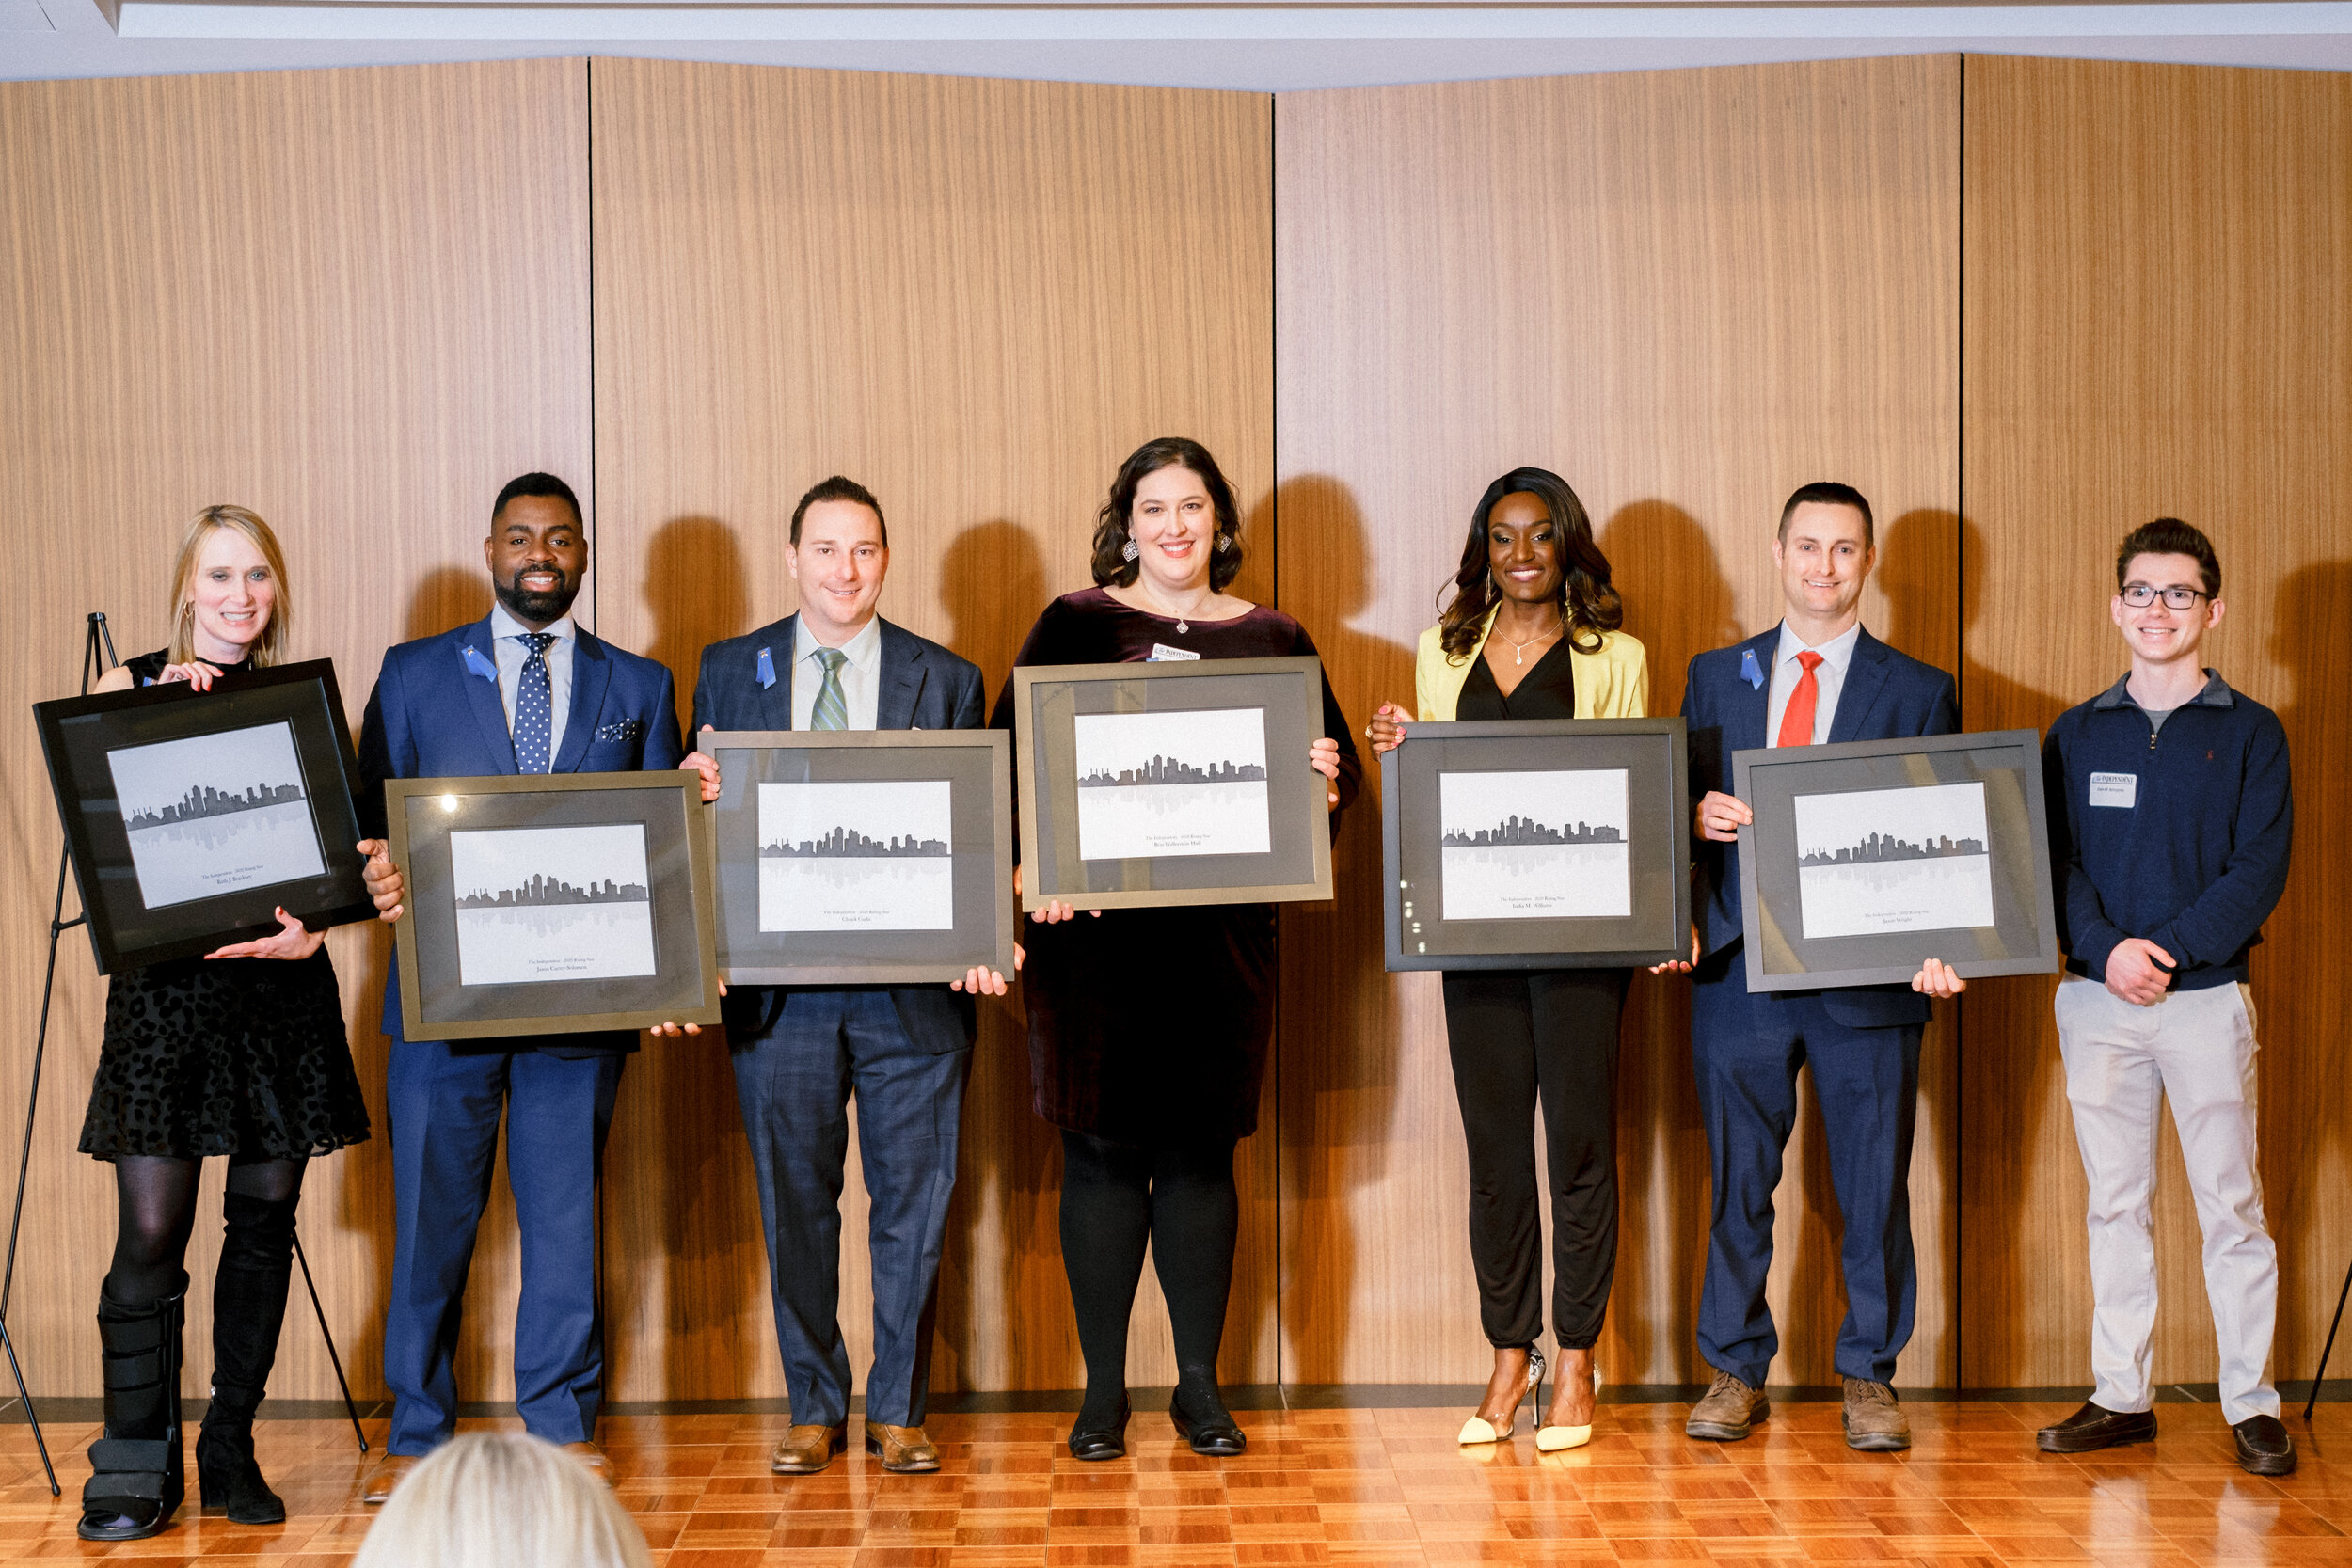
Each year, The Kansas City Independent Magazine hosts an event celebrating local philanthropy. For the 2020 event, seven individuals were selected and named the class of Rising Stars, and each individual was gifted a custom-made print of Accurso’s work. 

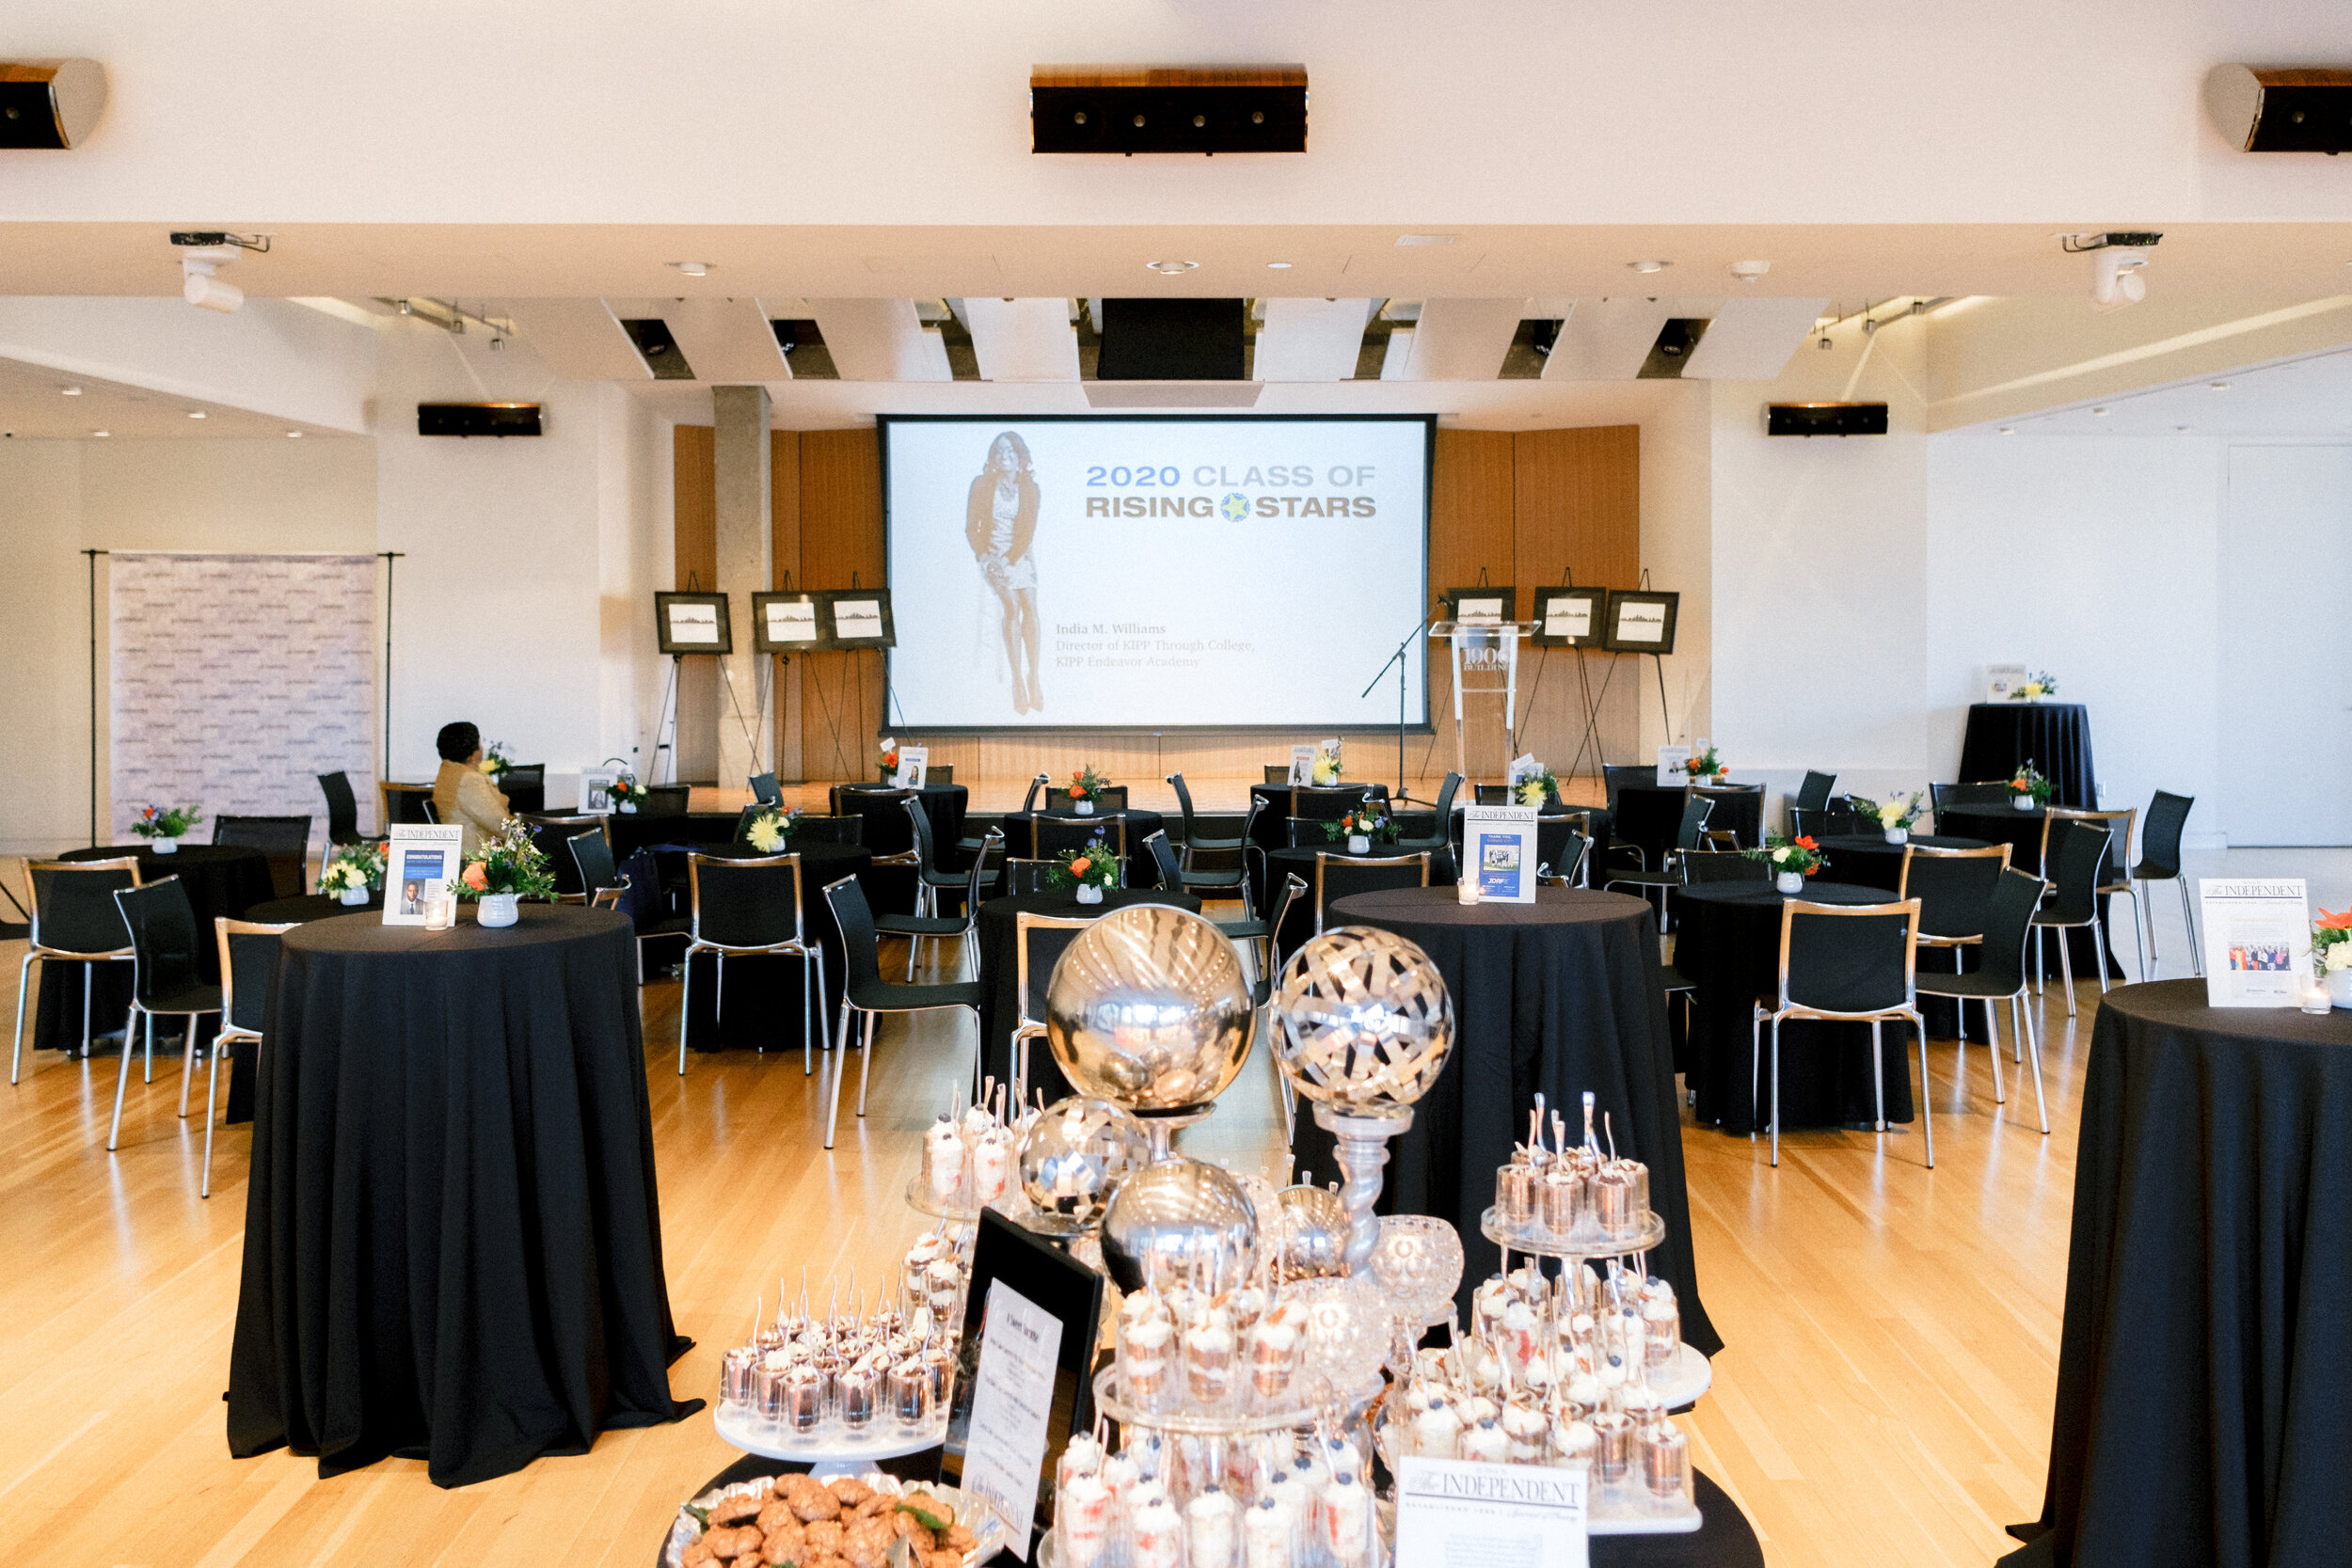
Local community members and subscribers to The Independent Magazine nominated the class of individuals that went on to be chosen by The Independent as the 2020 Rising Stars. A private reception was held in February of 2020 at the 1900 Building to celebrate the philanthropic success of the seven individuals.

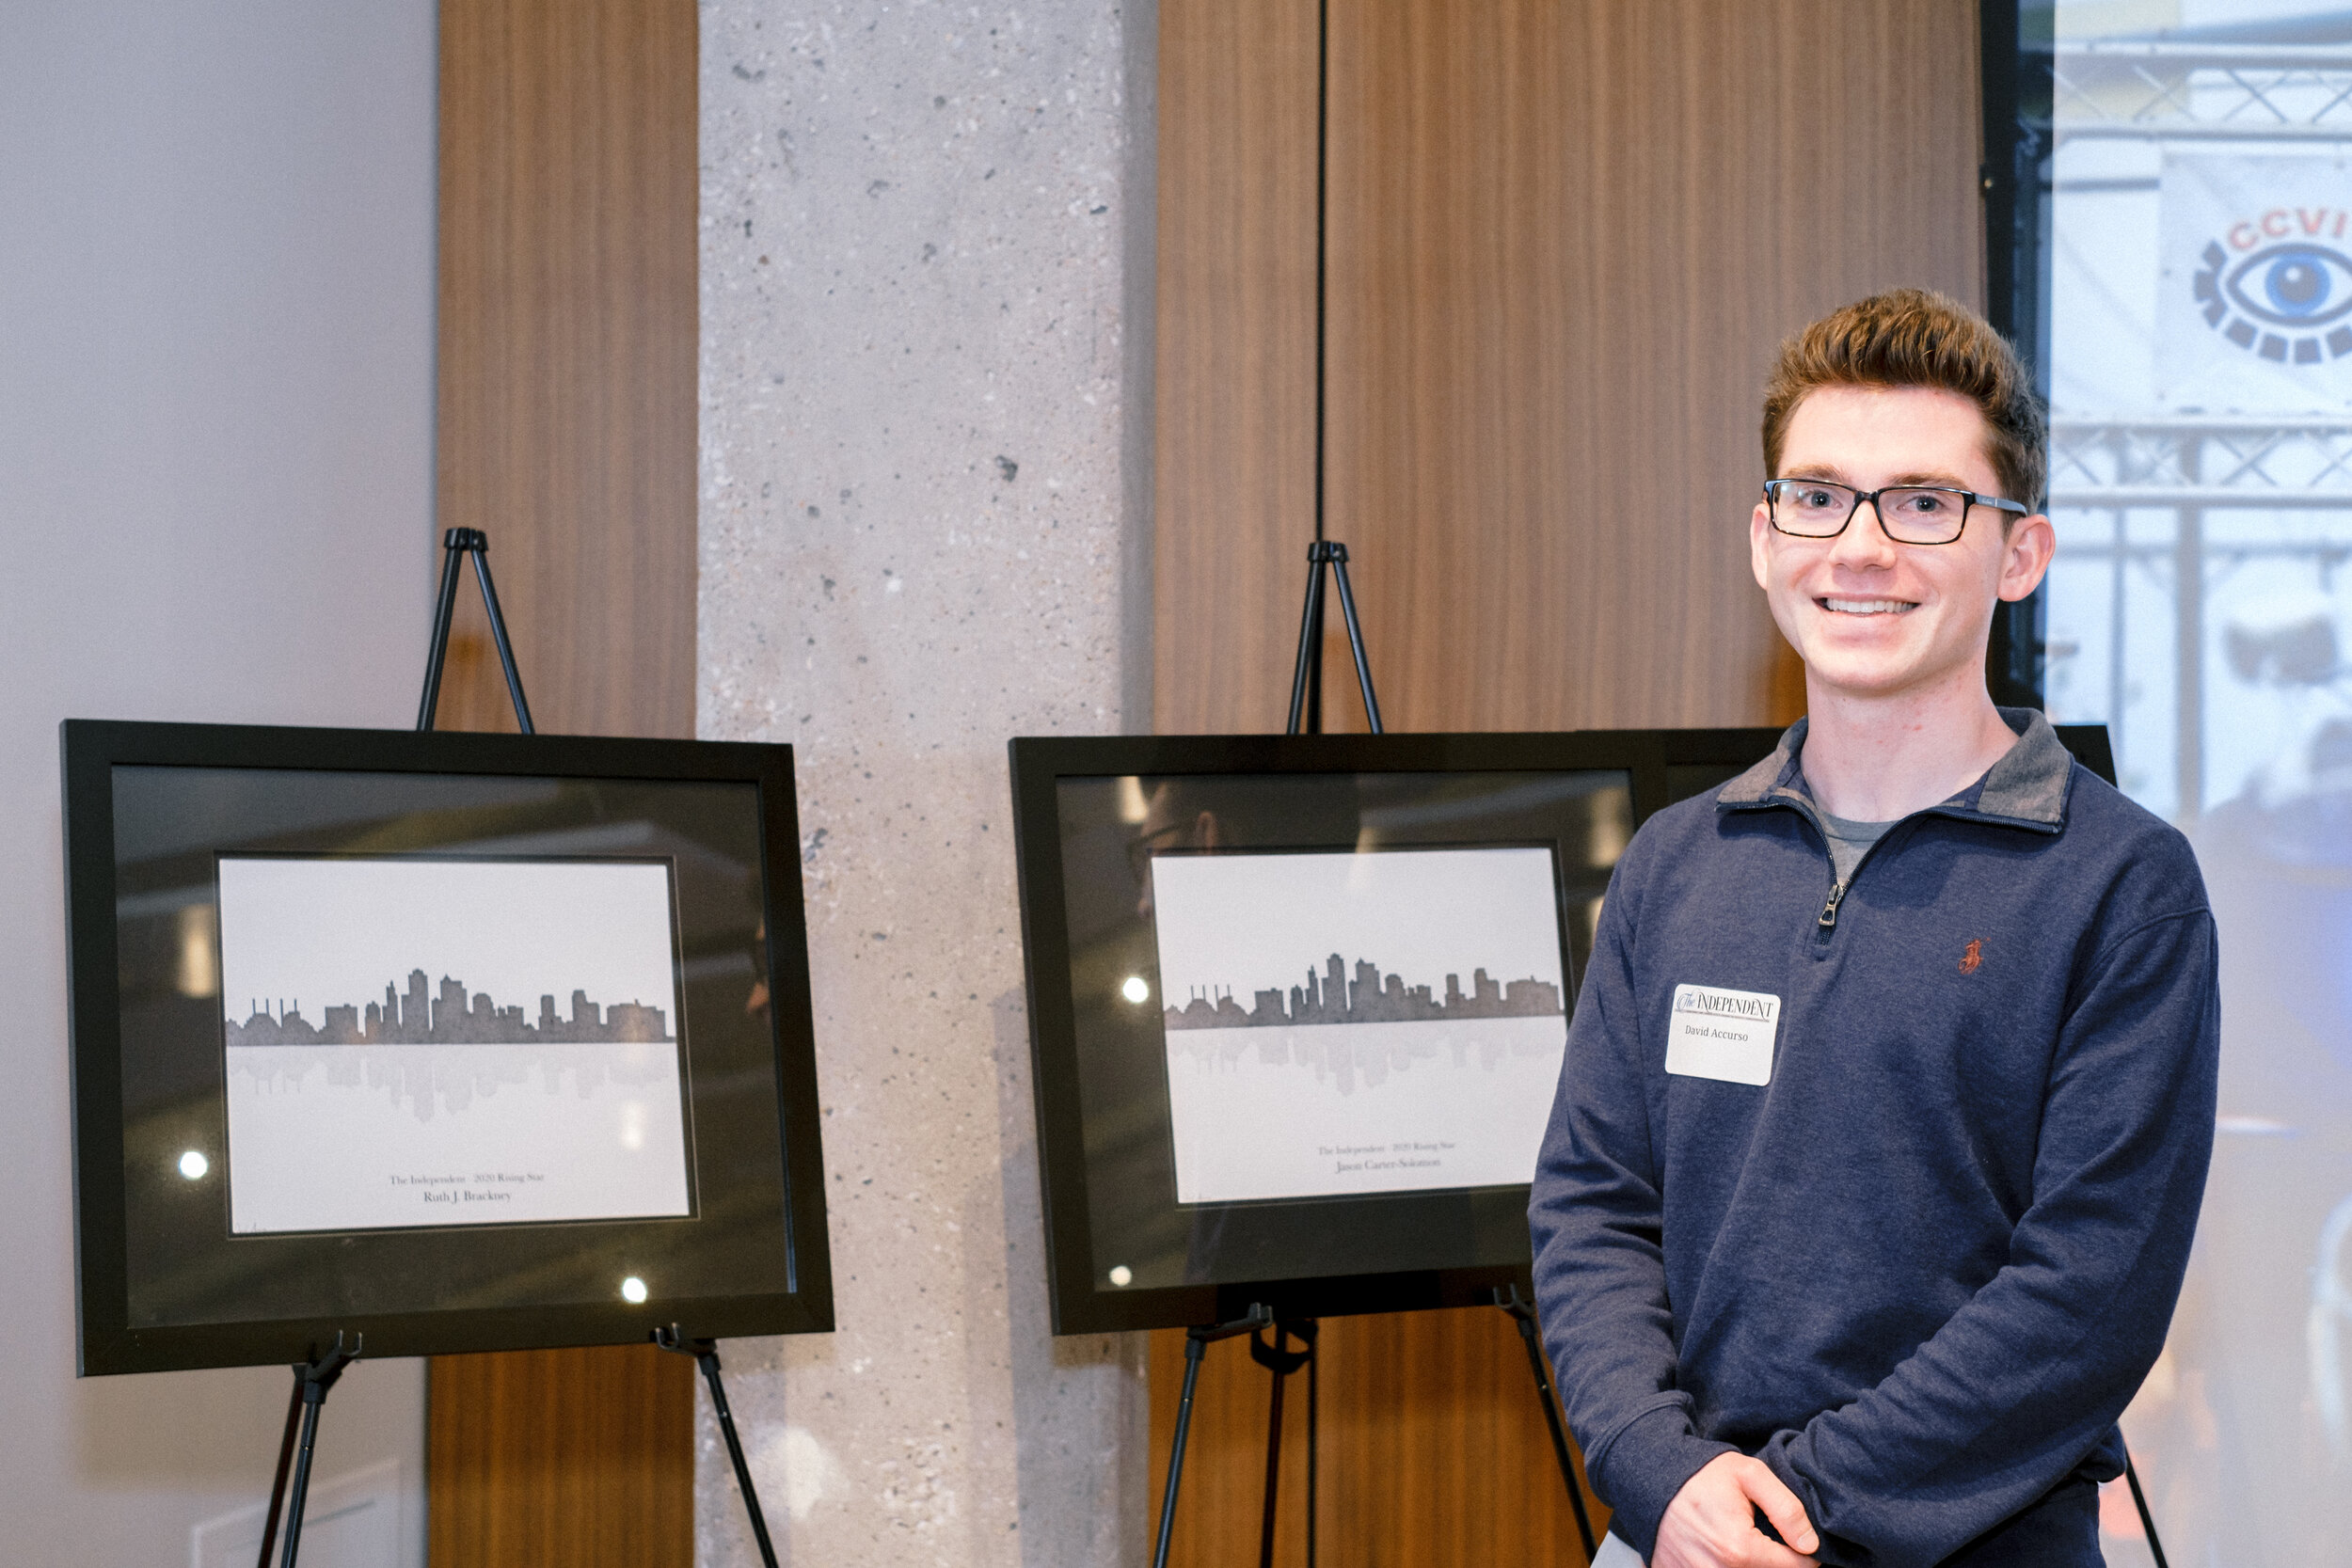
In addition to being recognized at the reception, each of the Rising Stars was gifted a print of David’s piece of the Kansas City Skyline. David created a custom print for each Rising Star which included his or her name underneath his popular stippled piece of the skyline. After being customized, the prints were framed and displayed on stage at the event for attendants to see. The Rising Stars received their gifts on stage with David at the end of the reception.

A page was dedicated to showcasing David’s Kansas City Skyline that was gifted to the Rising Stars.

A page was dedicated to showcasing David’s Kansas City Skyline that was gifted to the Rising Stars.

The Independent celebrated the 2020 Rising Stars throughout the year in their magazine. A page was dedicated to showcasing David’s Kansas City Skyline that was gifted to the Rising Stars. See images of the event below.


Anthology Artist Reception

stippling art 1

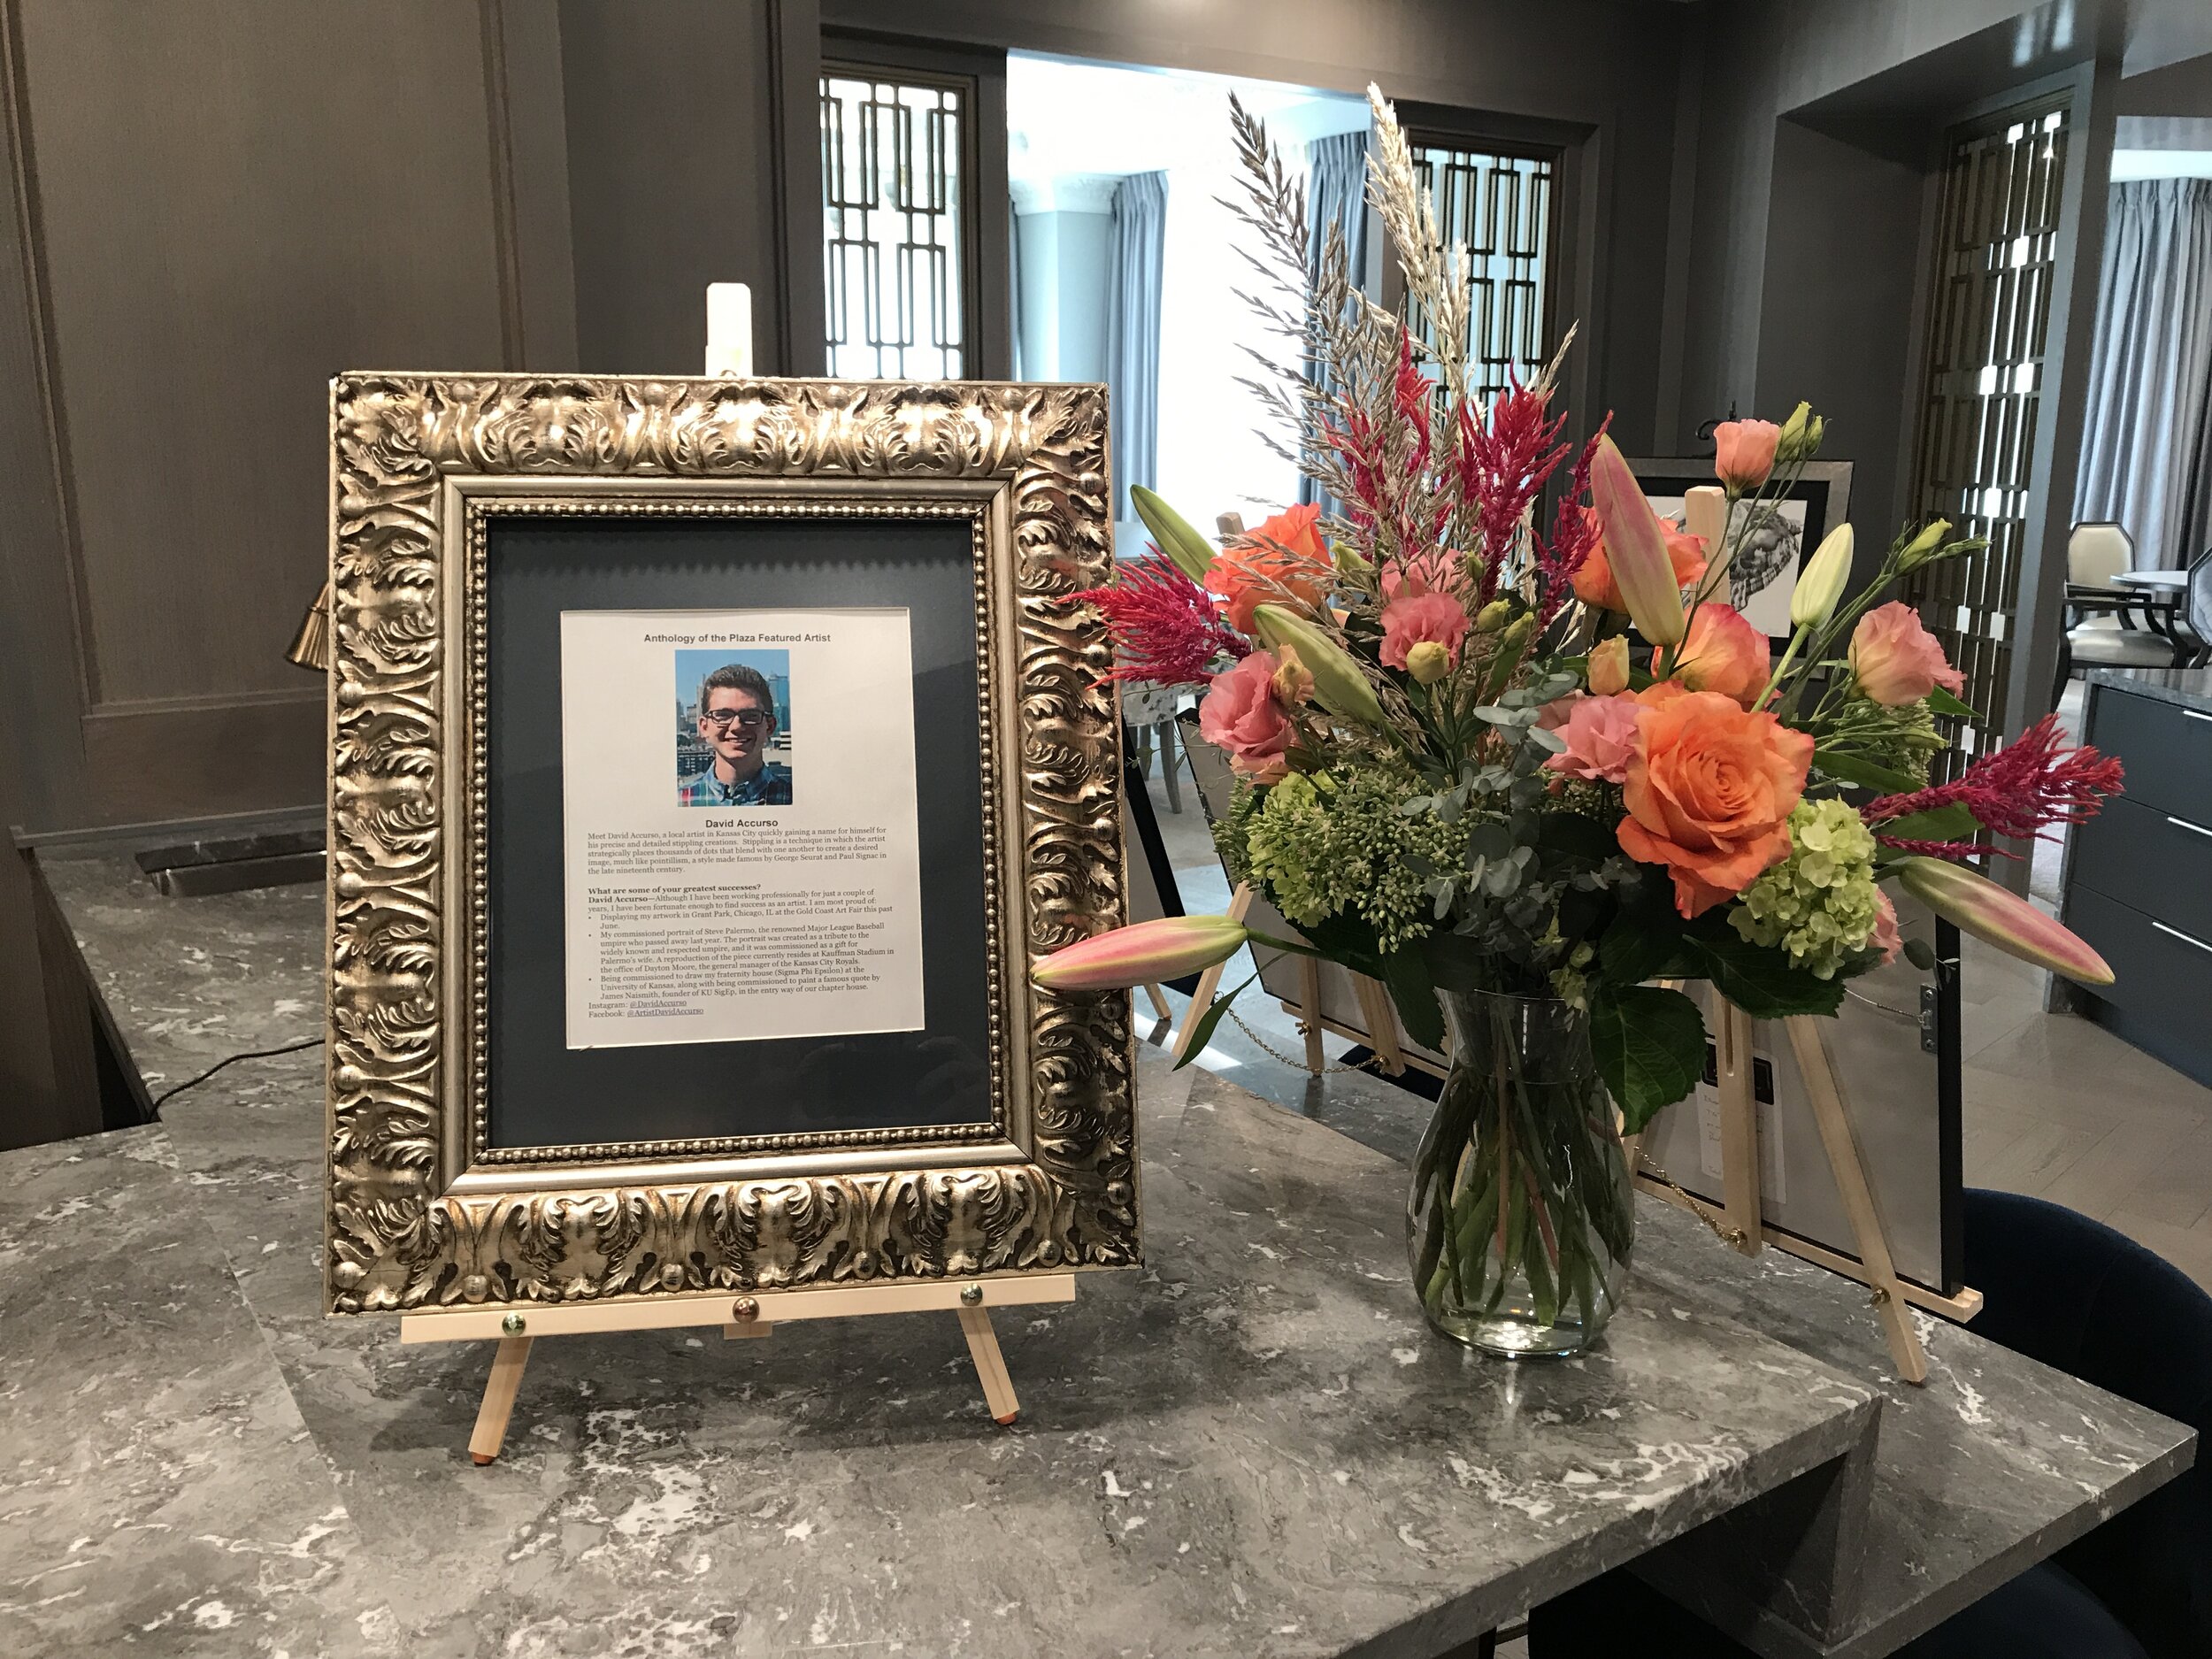
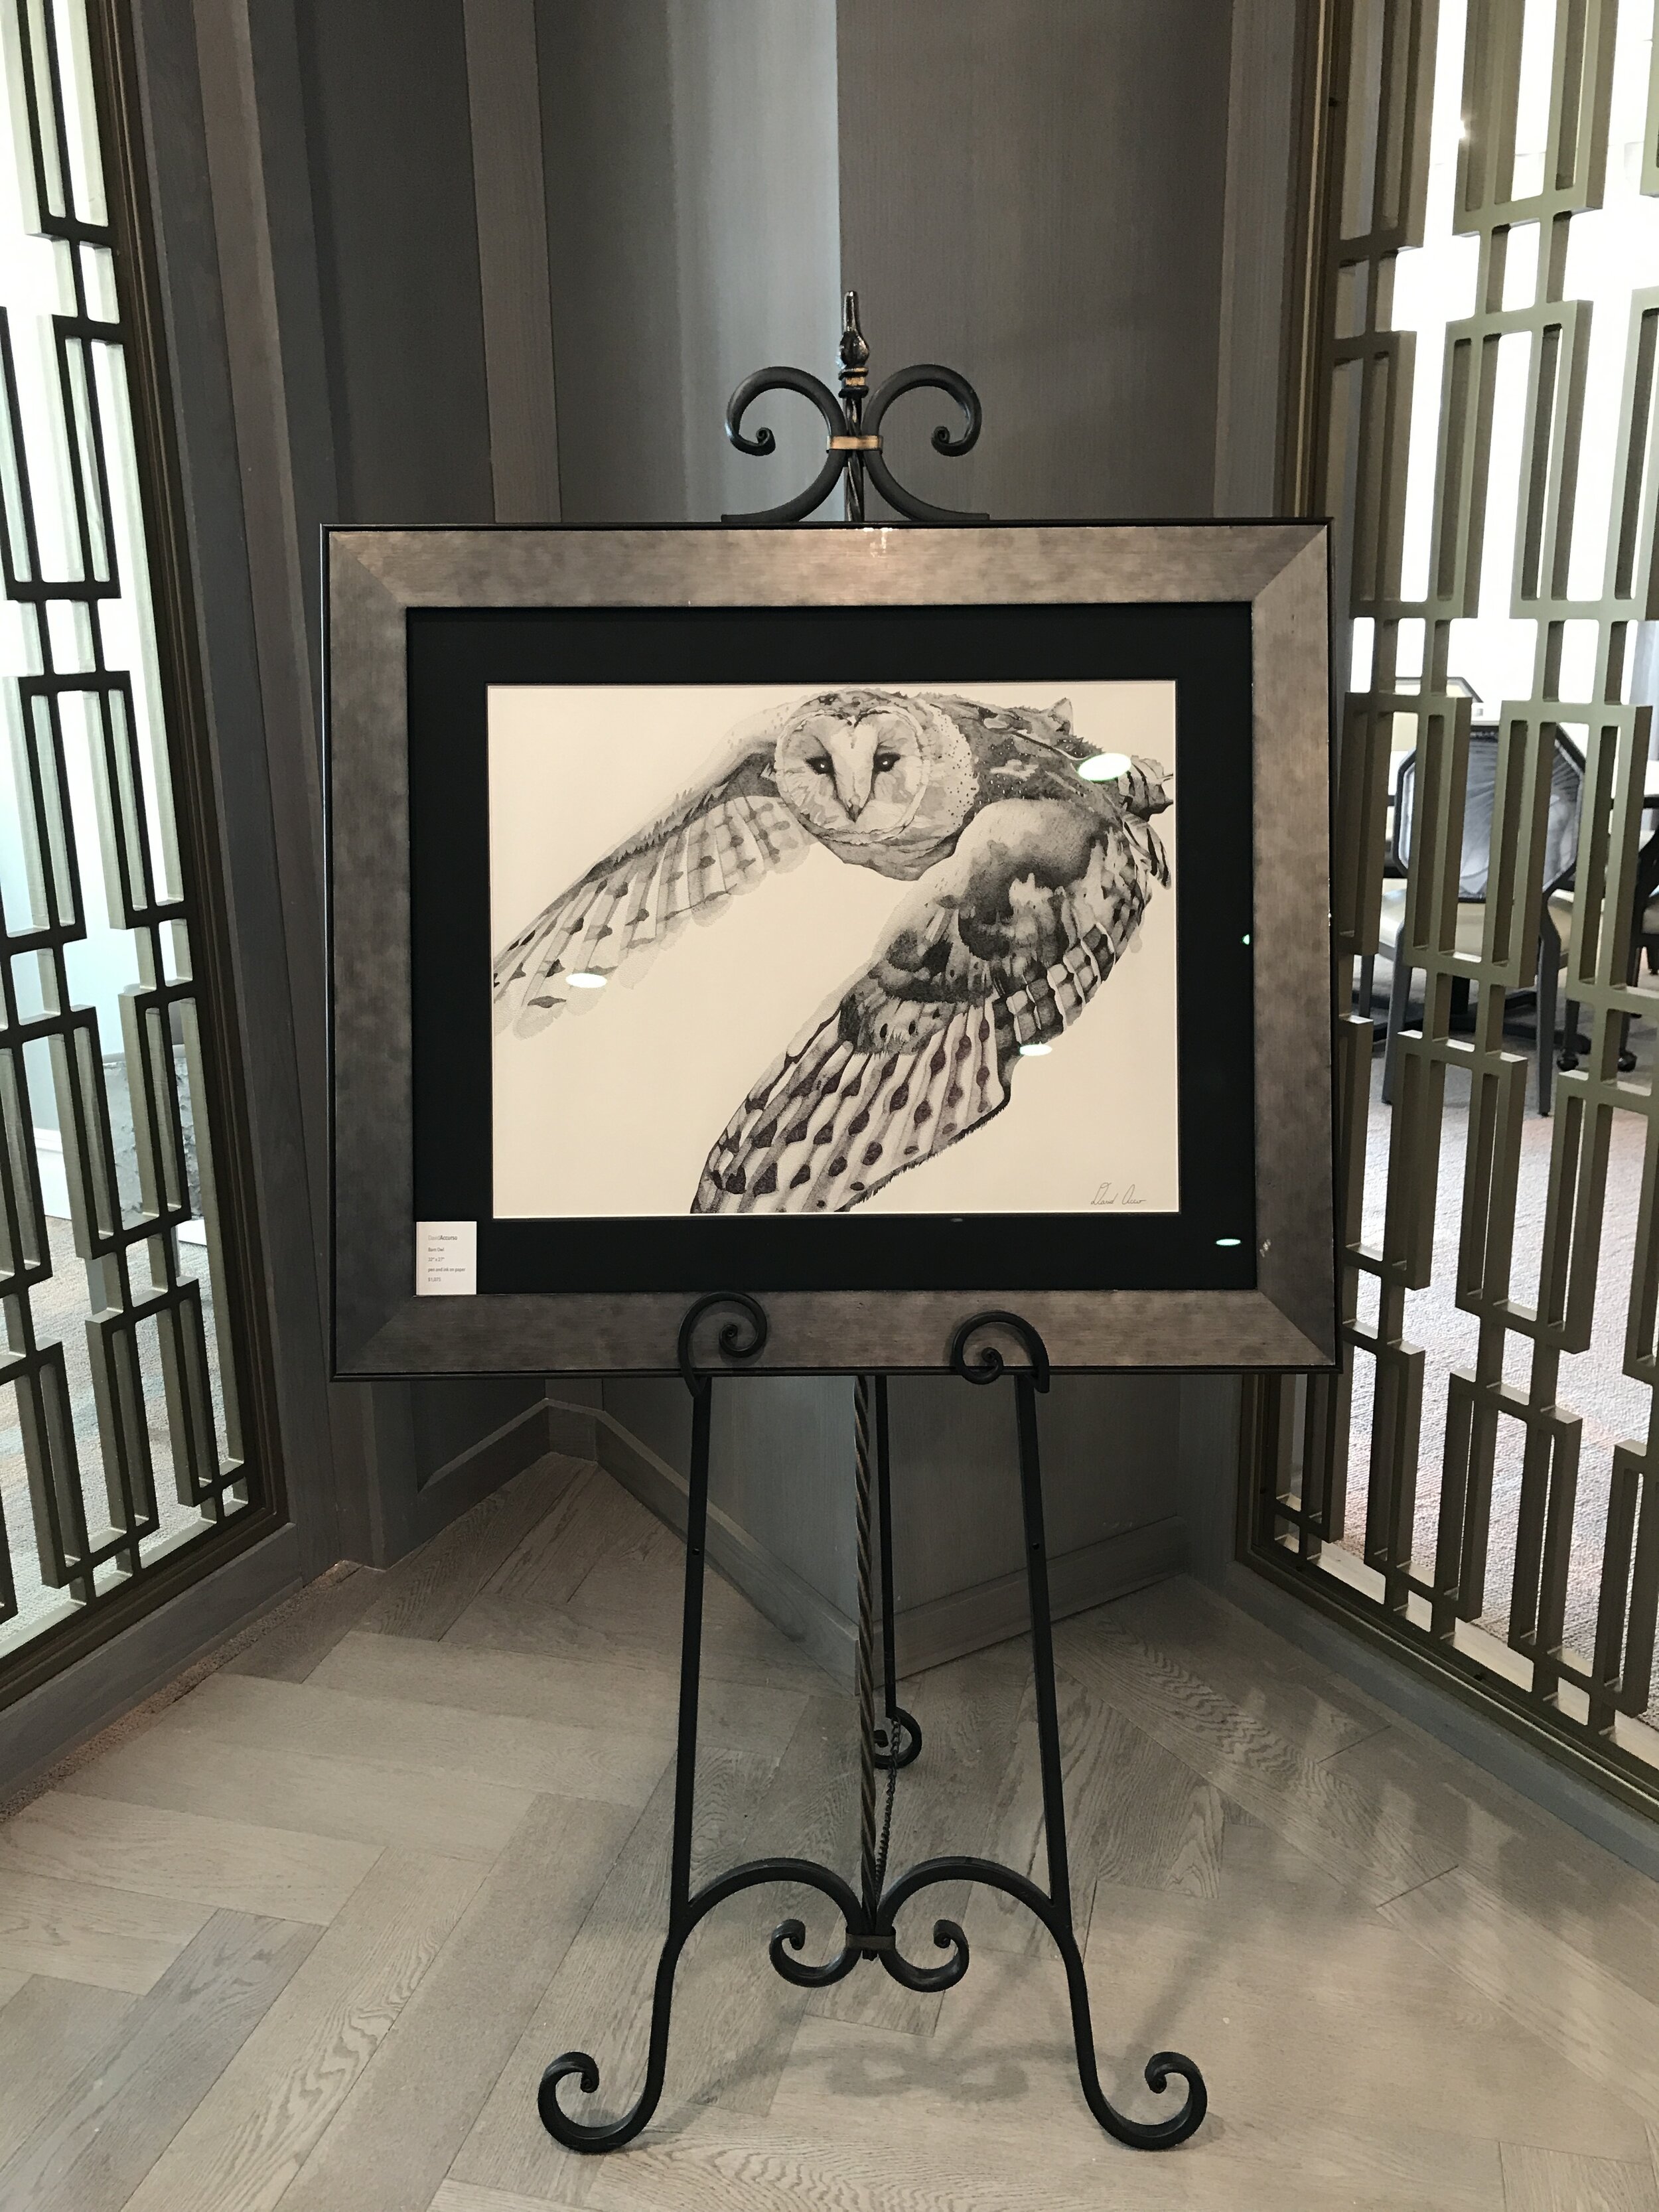
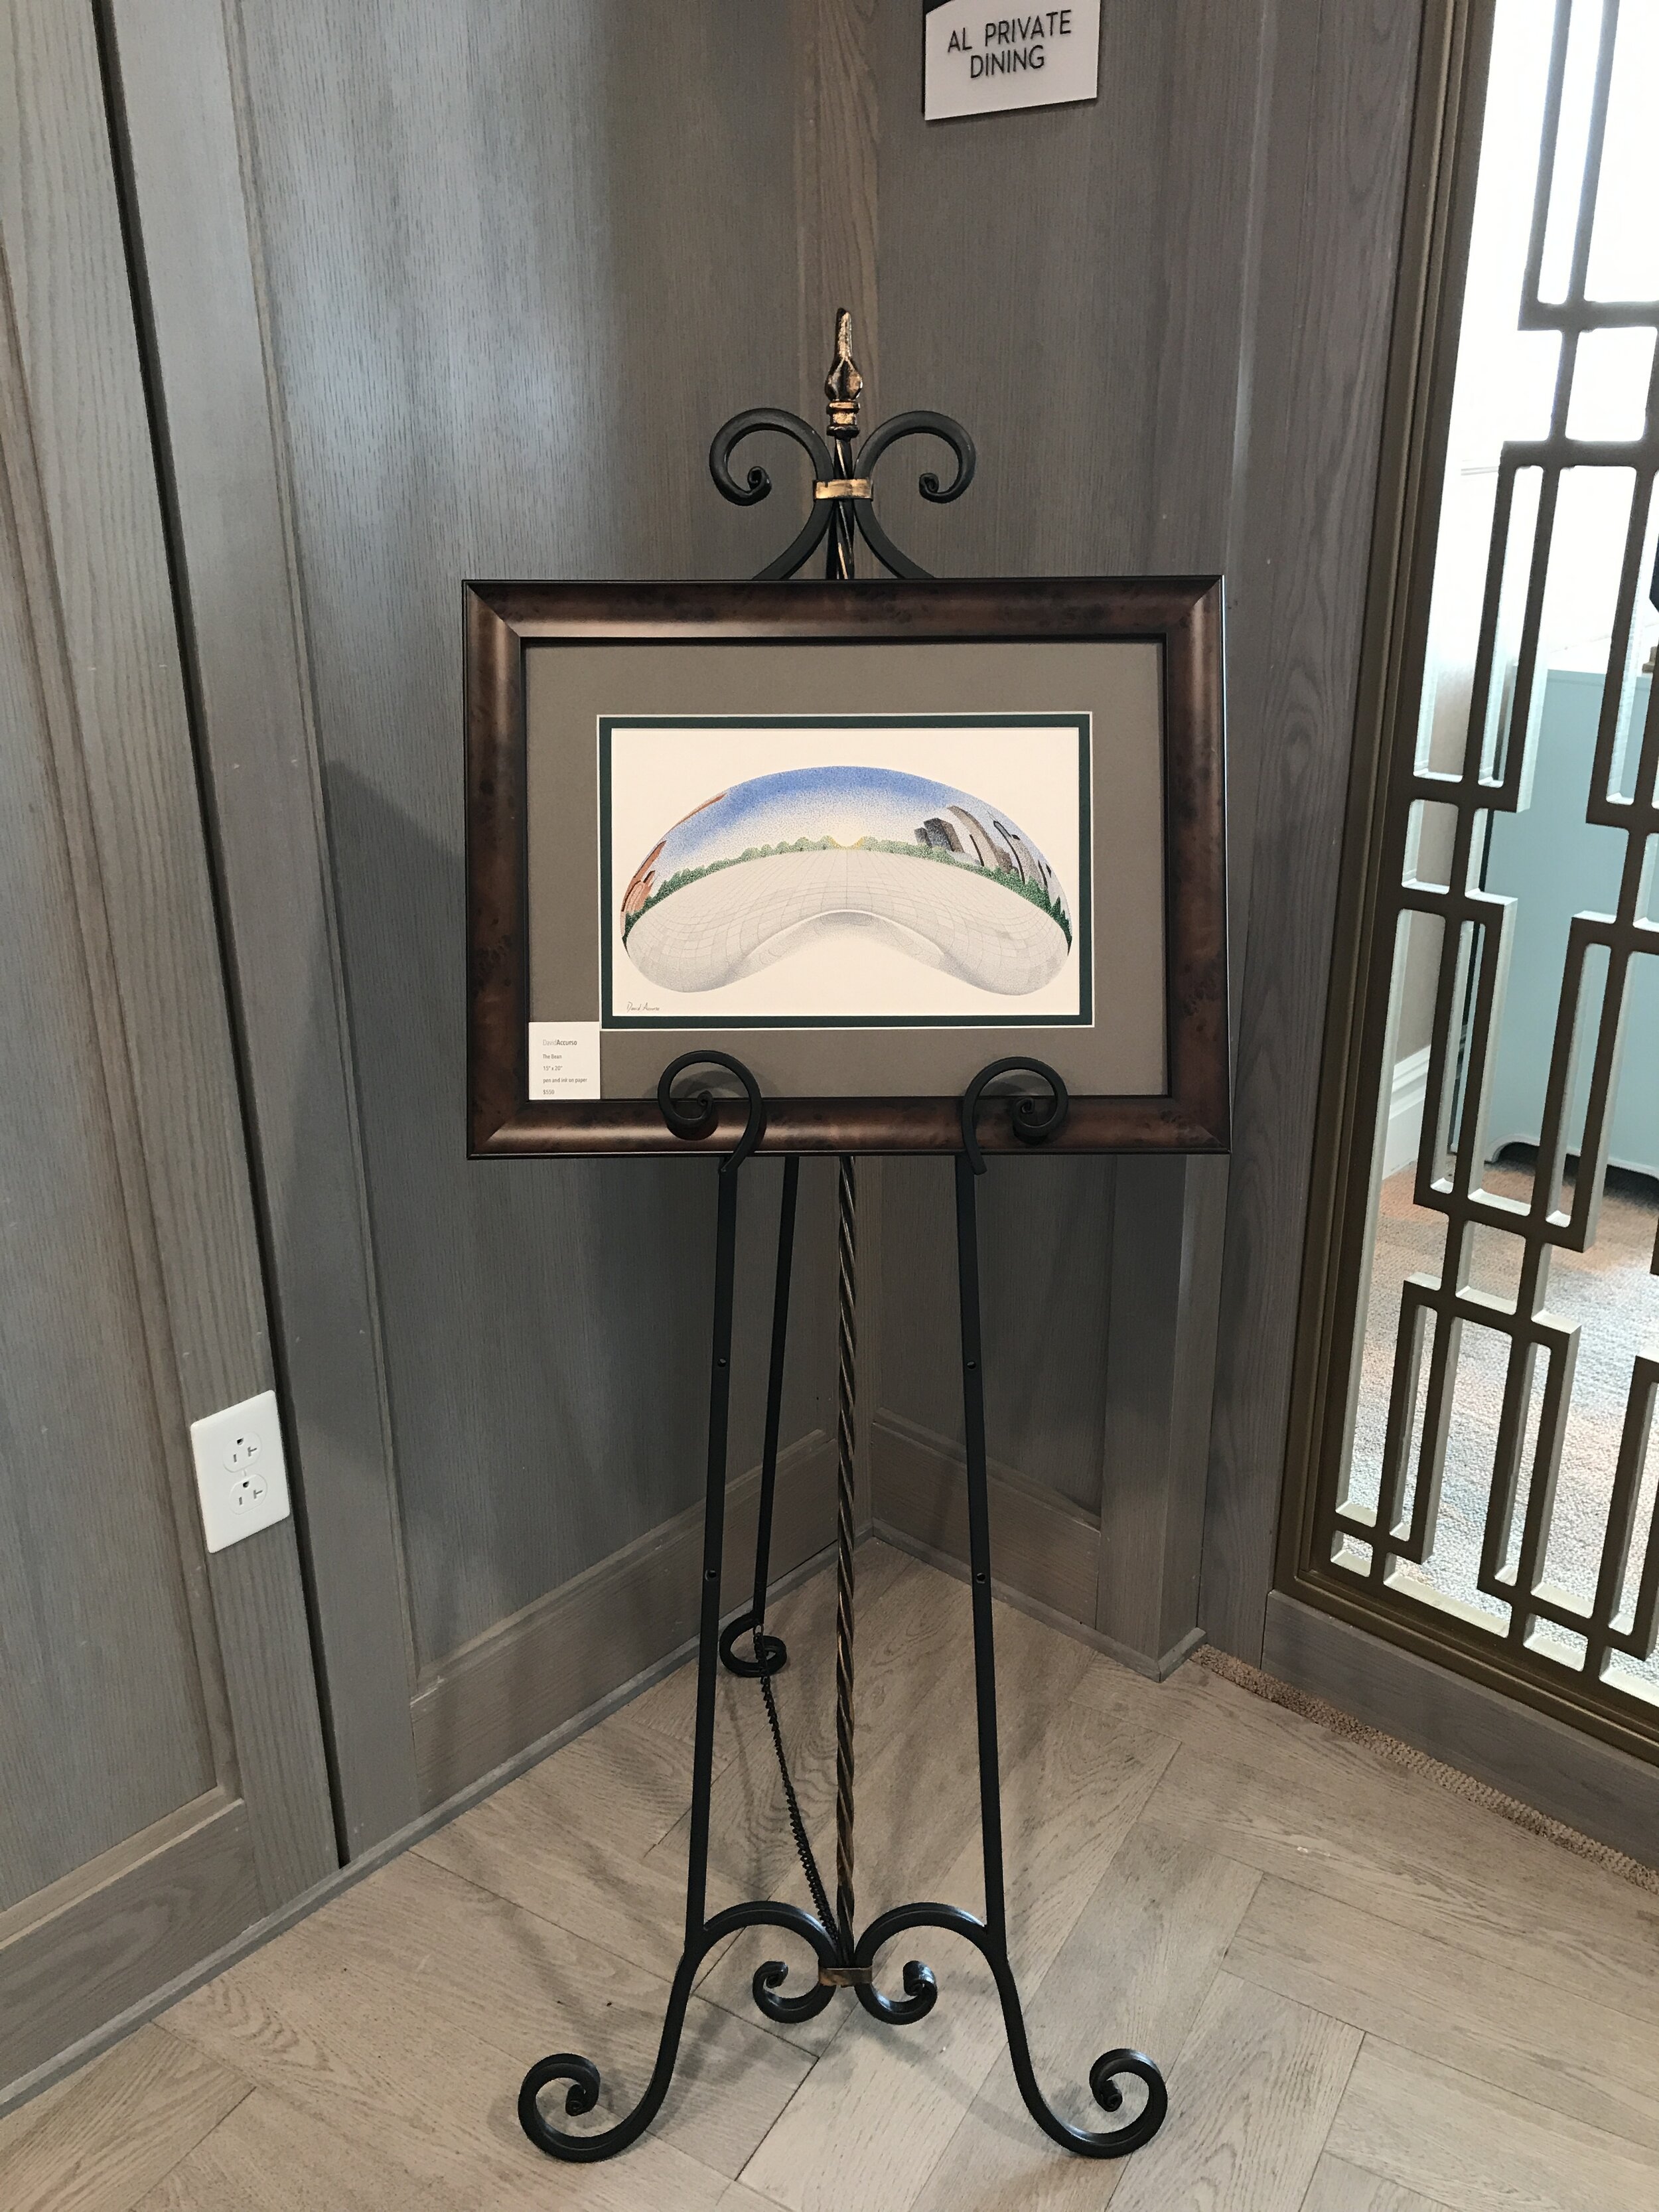
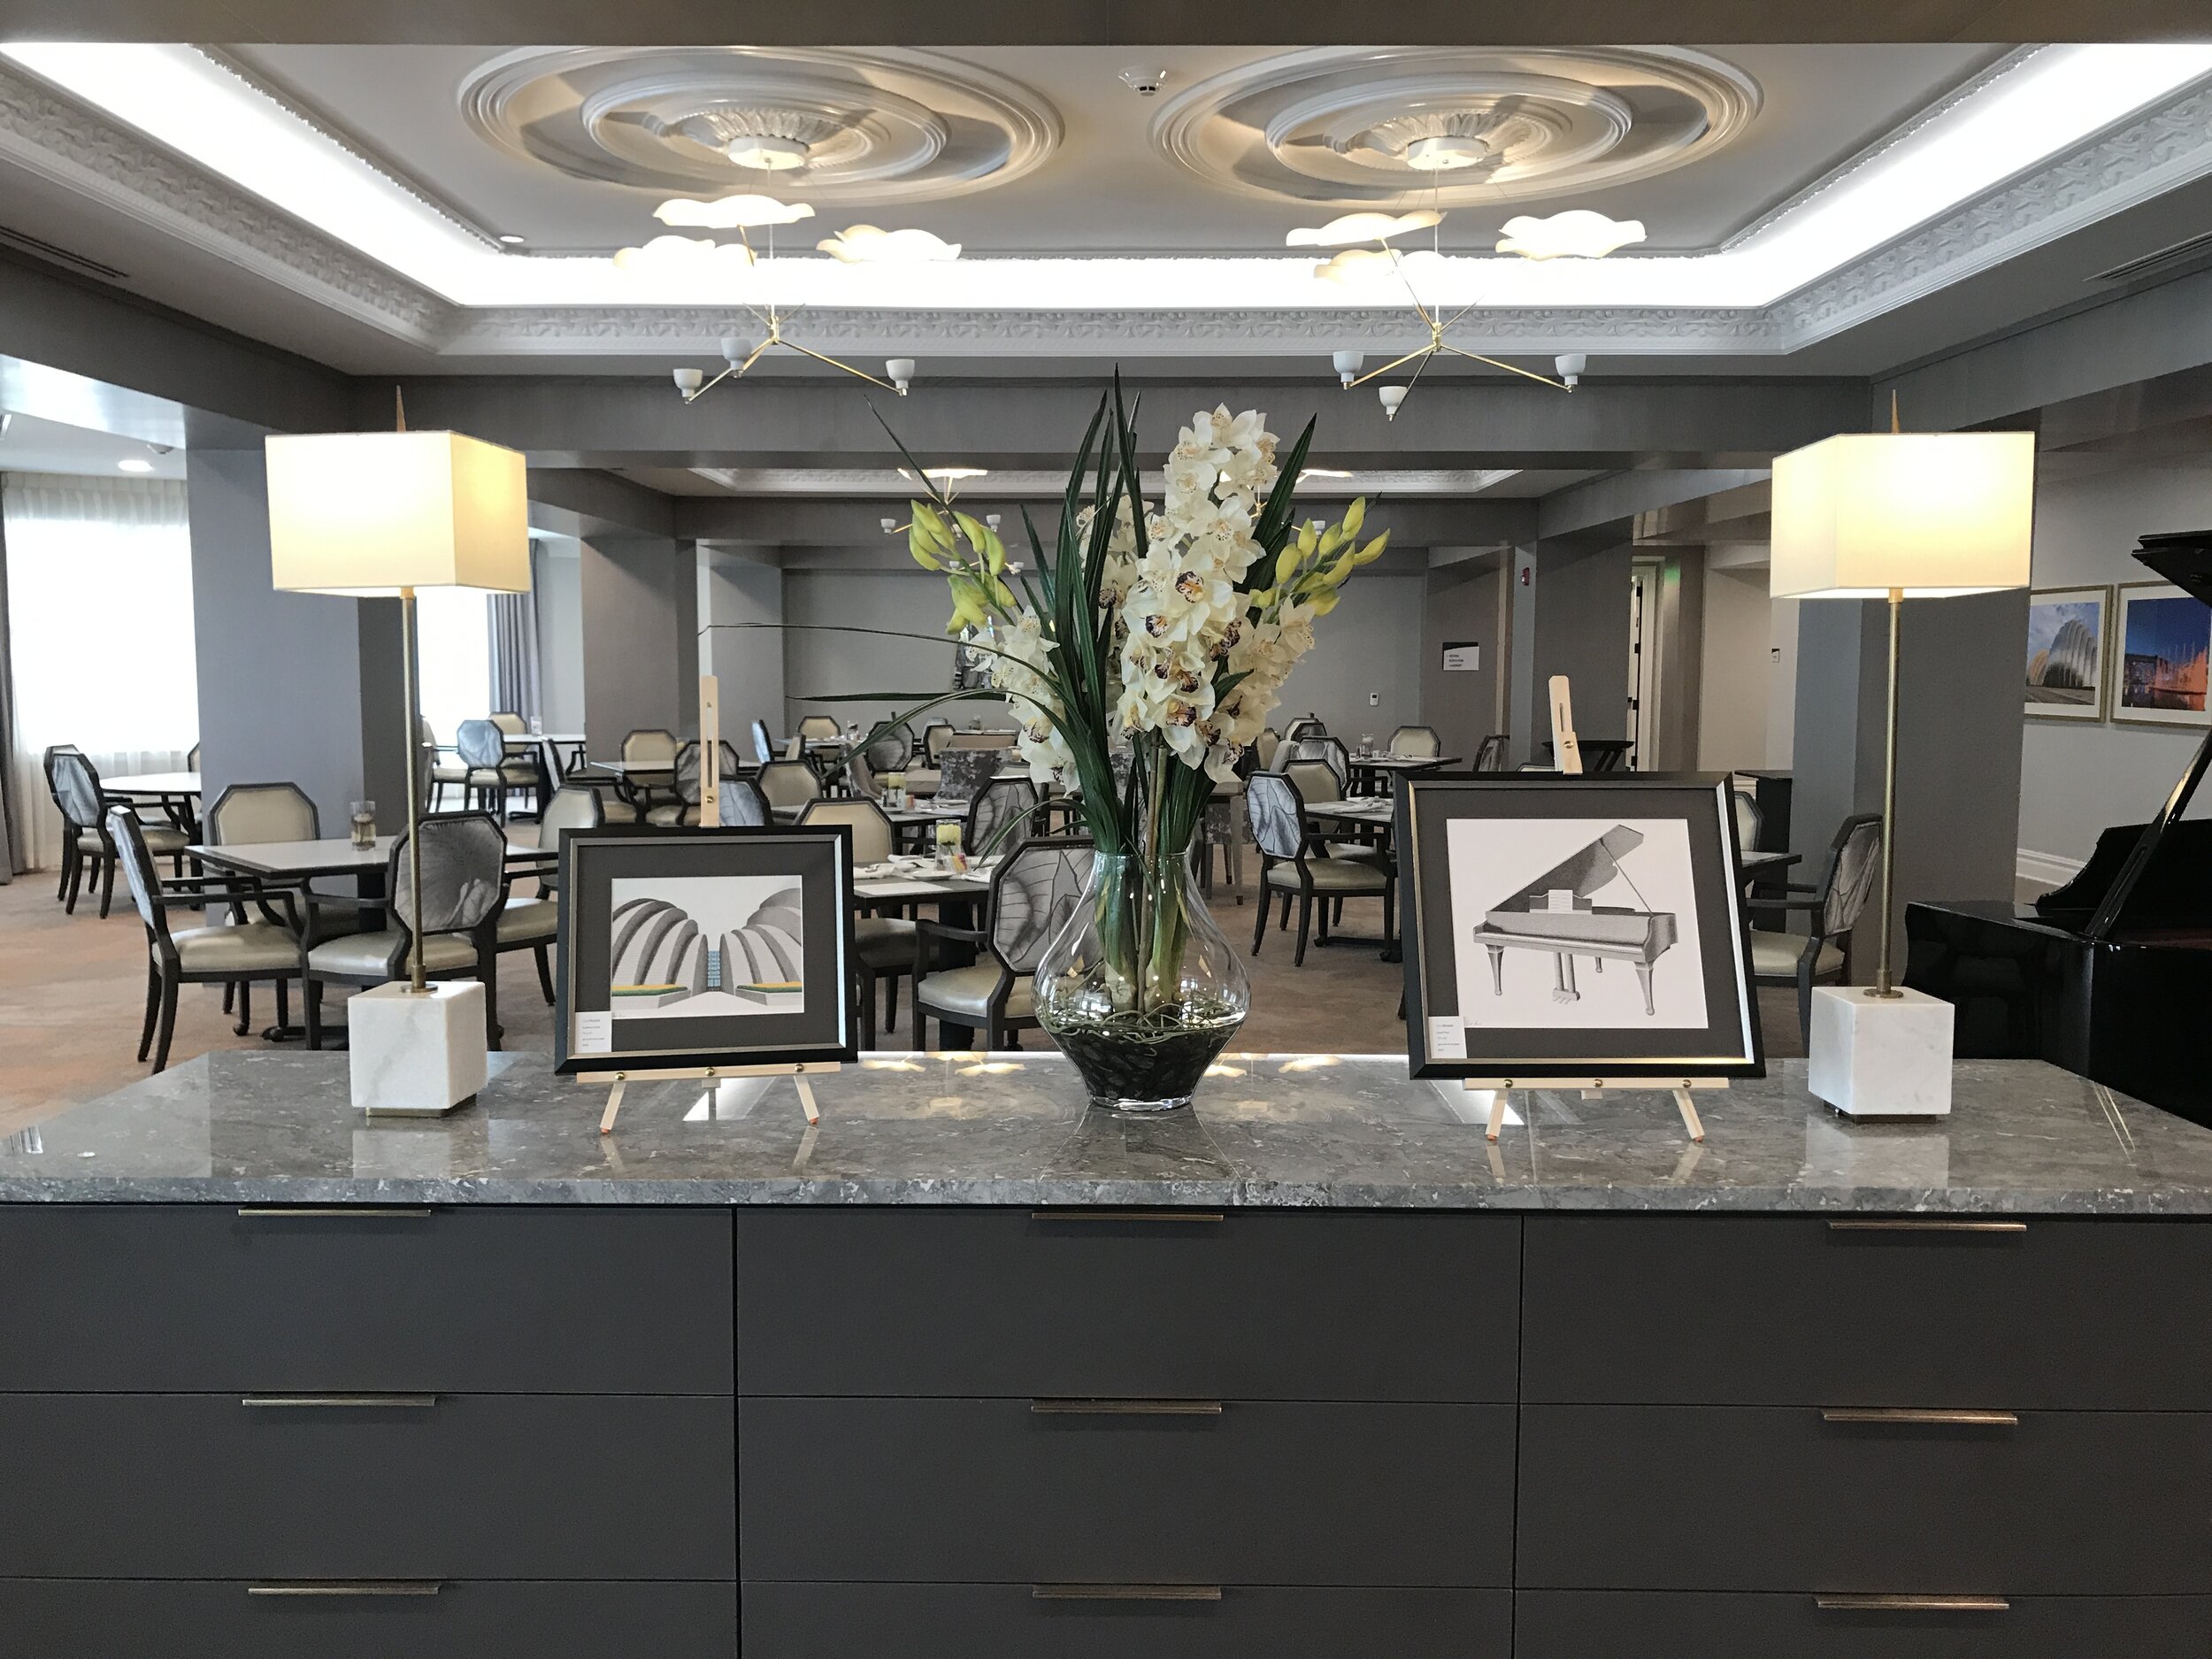
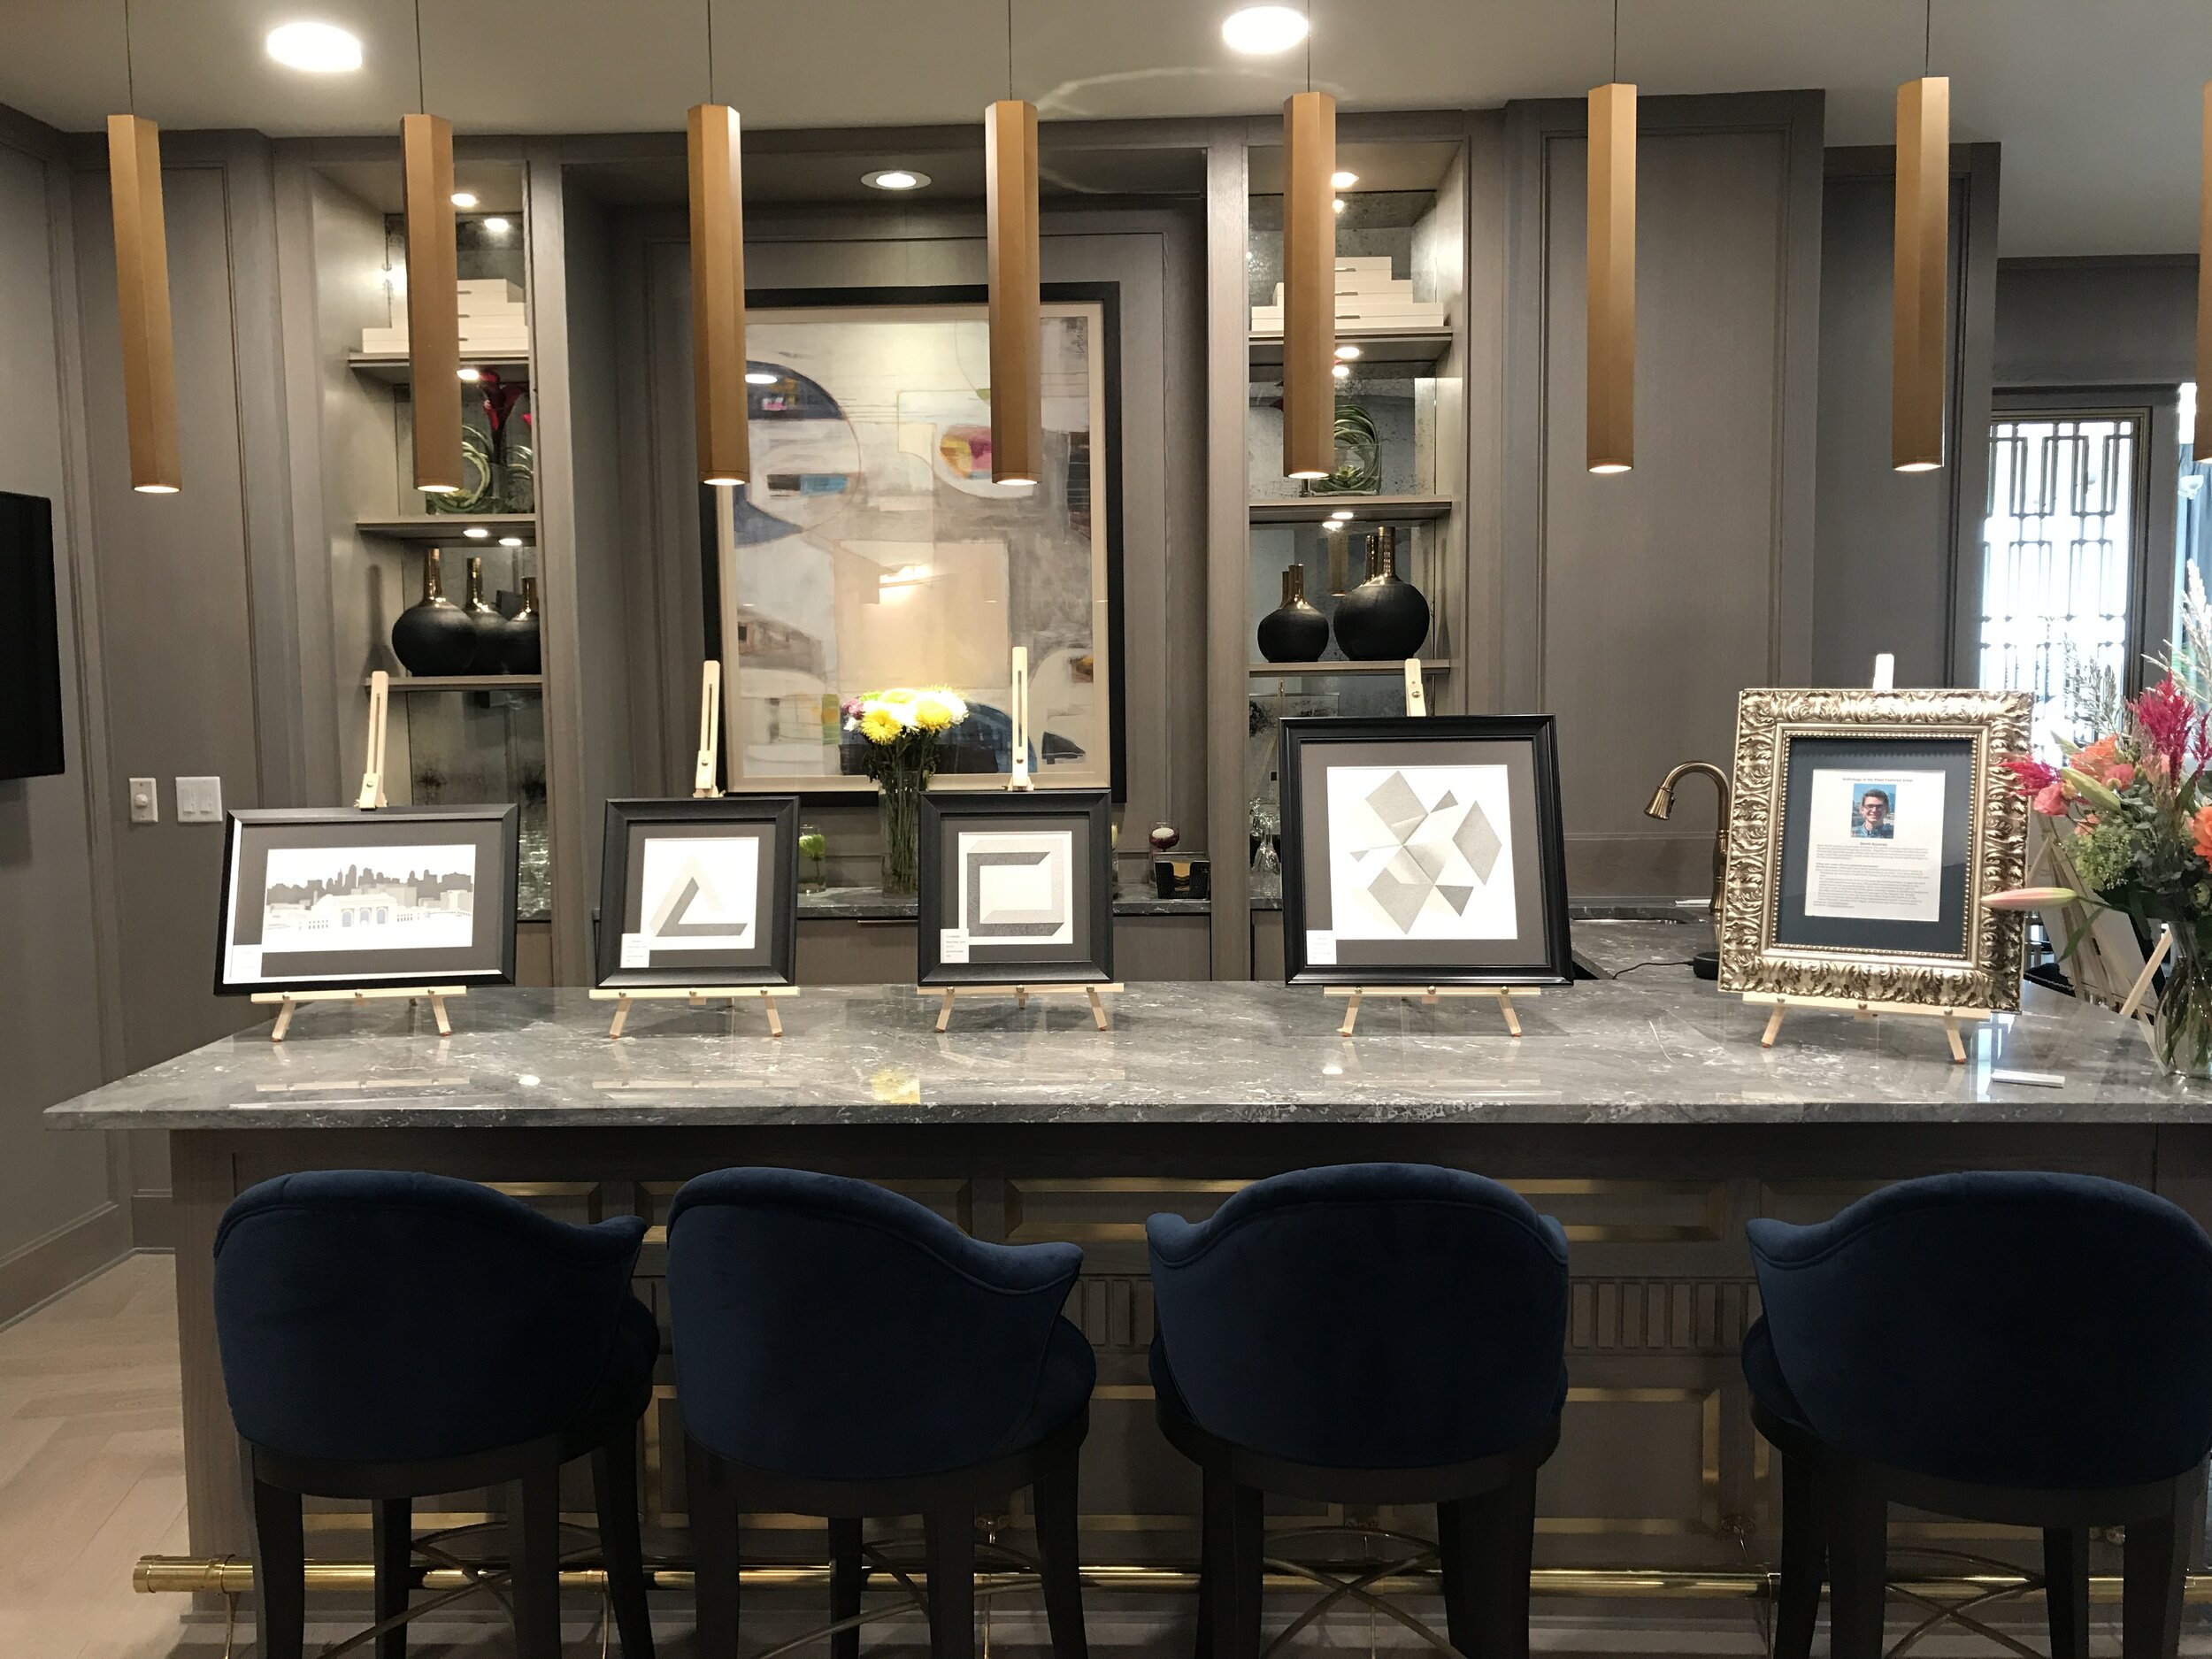
In September of 2019, David participated in a solo artist reception hosted by Anthology of the Plaza, a senior living facility located in Kansas City’s Country Club Plaza. Anthology of the Plaza selects a featured artist each month, and David had the opportunity of being the first selected artist. During the month of September, his work was on display in Anthology’s lobby for residents, family members, and friends to view. Several of David’s framed original pieces were chosen for the reception, and each one was displayed on a decorative easel.

Midway through the month, David participated in his solo artist reception, where he had the opportunity to speak with residents, families, and staff of Anthology about his artwork and career as an artist. Following the presentation, attendants had the chance to ask David about his preferred technique of stippling, the highlights of his career thus far, and his plans for the future. 

Near the end of September, the Plaza Art Fair took place in the heart of Country Club Plaza. As a featured artist of Anthology, David had the opportunity to participate in the event. At both the Anthology Artist Reception and the Plaza Art Fair, David’s collection of favorite pieces was on display. This collection included thirteen original works, with David’s favorites being Barn OwlThe Kauffman Center, and Geometric Abstract. View images of the display below.

In addition to having a solo artist reception, Anthology of the Plaza hired David to create a custom art piece for the senior living facility. The stippling drawing was of Anthology’s building from the view point of the Country Club Plaza. This included the J.C. Nichols Memorial Fountain in the foreground and Anthology’s building in the background. Once David finished the custom piece, he created several prints to be gifted to each of the living facility’s residents. Each print was hand-wrapped by David and received his signature.

The commissioned drawing of Anthology was a nice combination of color and detailing. David typically likes to include a touch of color in his stippling art, but this piece included several colors like green, blue, and sienna to capture the green grass in Mill Creek Park, the blue water of the plaza fountain, and the brown shade of Anthology’s building. The original stippling piece was requested to be 5” x 7”, so it was a challenge depicting the details of Anthology’s building and the statues in the plaza fountain.

David’s custom stippling art of Anthology of the Plaza in Kansas City, Missouri. The original piece was framed, and prints were made and gifted to residents of the living facility.

David’s custom stippling art of Anthology of the Plaza in Kansas City, Missouri. The original piece was framed, and prints were made and gifted to residents of the living facility.